

Gift-giving season is coming! I LOVE giving handmade personalized gifts. I find in this day and age, people are just so surprised to receive something handmade just for them that I enjoy every moment of making something with a special person in mind.
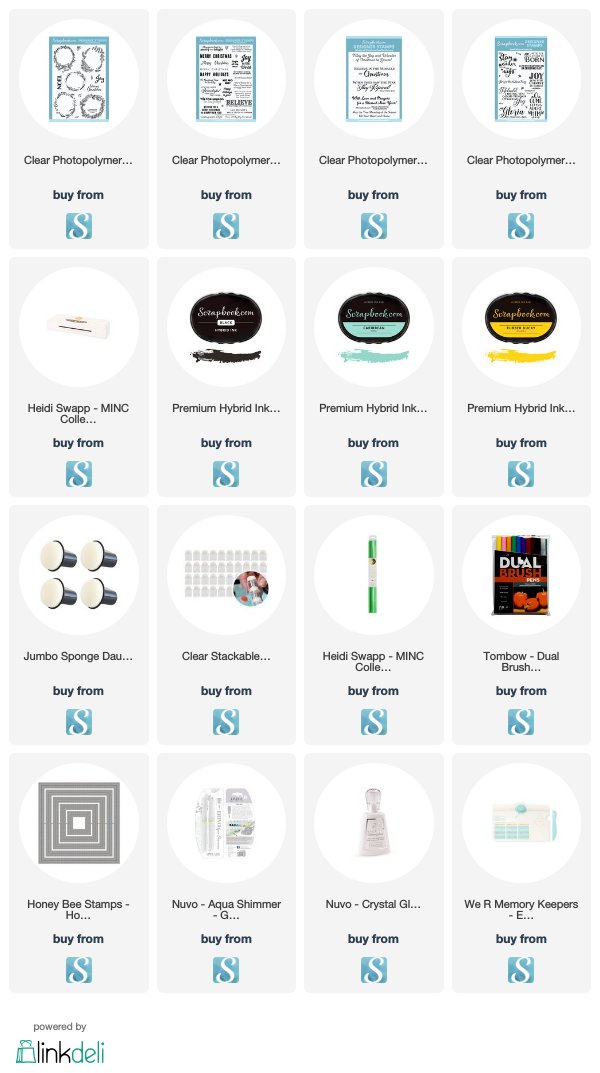
When Scrapbook.com asked me if I would like to create something with its new line of Exclusive Clear Acrylic Designer Stamps, I was thrilled to receive their Rustic Holiday Wreaths set. All of Scrapbook.com's new exclusive stamps are a premium clear photopolymer and were a collaborative team effort of stampers and paper crafters' hand-drawn designs from Scrapbook.com's own home state of Arizona. The charming images in the Rustic Holiday Wreaths set were right up my alley. I love their sweet and simple charm; they are beautiful (and easy!) to color and lend themselves perfectly to adding little details that make the finished cards so special.

I first decided to make a set of personalized notecards for a friend. I formatted a quick "L" on my computer, printing it out on a laser printer. I then sent it through my Heidi Swapp Minc Machine with some gold foil. I stamped the wreath image around the initial using Scrapbook.com's Hybrid Black Ink and colored it in with Tombow Markers. Then the real fun began... the embellishing! I used my stackable sponge daubers to add a glow around the little stars with Rubber Ducky ink. I LOVE to add hand stitching to my projects, so I added little french knots for the berries, and stitched on some gold sequins. I cut the image out with a stitched square die and stitched around the edge, using the die cut stitch lines as holes. I then mounted it on top of a square notecard with a band of gold paper underneath.

I just loved the way this little notecard turned out, so I continued on using different wreath images. On this next notecard, I foiled the "L" in green foil, stitched over some of the leaf images with green thread and added some fuchsia-colored sequins. I gave the little stars a glow and some sparkle using a Tonic Aqua Shimmer Pen and topped the berries off with some Tonic Nuvo Crystal Glaze. I mounted the panel on top of a square of gold foil cardstock.


For another notecard I used the same techniques, using hand stitching, some ink blending using Caribbean ink and a jumbo sponge dauber, sequins and Tonic Crystal Glaze to add special details all around the wreath.


Hint... it is super easy to make coordinating envelopes for these little square notecards with an Envelope Punch Board! And wouldn't these little cards make the greatest place cards for a beautiful holiday table?
I also wanted to create some holiday cards I could give away, so I made another card using a wreath and a stamped sentiment from the Holly Jolly Sentiments set. I stitched around the edges of the image and the base panel with gold thread and added a band of gold paper.


You can probably tell that I'm having a ton of fun with these stamp sets! Scrapbook.com has so many fantastic holiday sets. The sentiment stamps are phenomenal and include so many beautiful, versatile sayings.

I hope you enjoyed these projects! Links to the products mentioned here are below. I participate in the Scrapbook.com affiliate program, which means that I receive a small commission at no cost to you when products are purchased through the links I share. Thank you so much for your support!


Be First to Post Comment !
Post a Comment