Showing posts with label Die Cutting. Show all posts
Saturday, May 18, 2019

Teacher Thank You Notecards with Pinkfresh Studios April Release Dies


In my book, it is never too early to start those end-of-the-year teachers gifts.  These always sneak up on me and I spend a week frantically trying to create last-minute gifts or notecard sets.  Not this year, if I can help it!  Pinkfresh Studios' April release was full of gorgeous dies, and there is no easier way to create cards with dimension and impact than using beautiful dies... they do all the work for you!


I made four different notecards for this set, taking my inspiration from a beautiful grosgrain ribbon I found in my stash and some chartreuse polka dotted paper.  My first card used Pinkfresh's Jar Full of Hearts die.  I created a small shaker using the die, layering up 4 layers of die cuts and doing some simple Copic coloring on the jar and hearts.  I stamped my sentiment from Pinkfresh's Hanging Florals stamp set, did some quick stitching around the panel, and layered some of the patterned paper and ribbon to finish.


For my second card, I used the new Partial Cut Bouquet and a Bow dies.  This card was so simple... I simply cut a two different layers of the blooms and did some simple Copic coloring.  I cut my bow from hot pink patterned paper and stamped my sentiment from Pinkfresh's Say It With Florals stamp set.  I added some stitching around the panel and some little cupped flower sequins for some added sparkle.  I layered the panel on top of coordinating cardstock added some of the ribbon.


For my third card, I used Pinkfresh's new Leafy Wreaths die set.  I cut the wreath out of the chartreuse patterned paper, and cut an additional layer out of light pink cardstock to layer underneath.  I stamped my sentiment and added some cupped flower sequins, some clear gems, and some Nuvo drops for some added interest.  I finished this card with some simple stitching and more paper and ribbon layering.


My last card again uses the Partial Cut Bouquet and a Bow dies.  This time, I created a panel with a center circle and layered bunches of the little blooms underneath.  I cut the bow from wool felt and layered the panel on top of more colored cardstock and ribbon to finish.

These cards are intended for a dear school nurse who is retiring after many years of selfless service to our school district... she will be missed indeed.  I hope these cards bring a smile to her face.  They came together so quickly, but pack so much punch due to the beauty and intricacy of the dies.

I hope you enjoyed these projects.  I'd love to hear which of these cards is your favorite... I need to make one more to complete the set but I can't decide which one I am going to duplicate!  :)


Monday, July 2, 2018

Using Dies as Stencils for Stitching Templates: Altenew's Layered Floral Cover and Cross Stitch Canvas Dies


Happy Monday!  Is everyone settling into summer?   It is HOT here... I am perfectly content to stay home and get some crafting done until this heat wave passes.  100 degree temps?  NO thank you!

I've been meaning to share this cross stitch card I sent off to a crafty friend for a while.  I wanted to create a card using a cover die as a stencil, and chose Altenew's Layered Floral Cover Die A and their awesome Cross Stitch Canvas die.


After die cutting both panels, I used the layered floral die as a stencil to create the cross stitch pattern.  I colored in the sections using Copic markers.  


I then chose my thread colors and went to stitching!  


I'm not gonna lie... this stitching project is not for the faint of heart.  This took a while.  But it was well worth it.  I finished it with one of my favorite sentiments from Hero Arts and some Pretty Pink Posh sparkling clear sequins.  


I hope you enjoyed this tutorial and card!  Have a great start to your week!  


Thursday, May 17, 2018

Simon Says Stamp Sending Sunshine Release: Stitched Sending Spring Love Card


Has everyone seen Simon Says Stamp’s latest Sending Sunshine release?  Oh my.  So many awesome products.  I was so happy to be able to create with their new Four Seasons Sayings stamps.  I loved this set as soon as I laid eyes on it… the sayings are so versatile and you can use it to create cards all year round.  So great!  

I used Simon’s More Spring Flowers to create the foundation of my card.  After watercoloring the flowers with my Zig Clean Color Real Brush markers, I used the stitch lines on the flowers to add some stitching to the flowers.  I also decided to stitch over the “Spring” in the sentiment to add more interest.  I then created an envelope with my envelope punch board and added even more stitching to that, tucking the flowers in an arrangement inside.  I then decided to mount the envelope on a panel that I ink blended with Tumbled Glass Distress Ink and finished the card with some Pretty Pink Posh sparkling clear sequins.  


I hope you enjoyed this walkthrough and the card!  


Tuesday, May 1, 2018

Get Well Soon Cards


Hello!  Unfortunately, in the past week several people in my life have fallen ill or sustained injuries.  As I was looking through my card stash, I realized that I didn’t have any get well cards.  I remembered seeing a beautiful card on Yoonsun Hur’s Instagram page where she had created some floral Band Aids, and from this I took inspiration to create the cards here today.  For each card, I die cut and stamped each Band Aid twice using My Favorite Things’s Band Aid die and Hero Arts’s You’re Beautiful stamps (definitely check out this set… gorgeous floral images coupled with awesome sentiments.  I will be using this one A LOT).   I colored in the images using bright and colorful Copic markers.  I then cut out the square center out of each Band Aid and popped it up using foam tape on top of the duplicate Band Aid to give some dimension.  


I played around with a clean and simple design by putting the Band Aids on a white panel, but it was just too plain and the Band Aids looked lost.  I tried out Jennifer McGuire’s fill-in stamping technique using Simon Says Stamp’s Fog ink, which gave a perfect background.  This Hero Arts set was perfect for this technique… lots of small images gave great impact.  


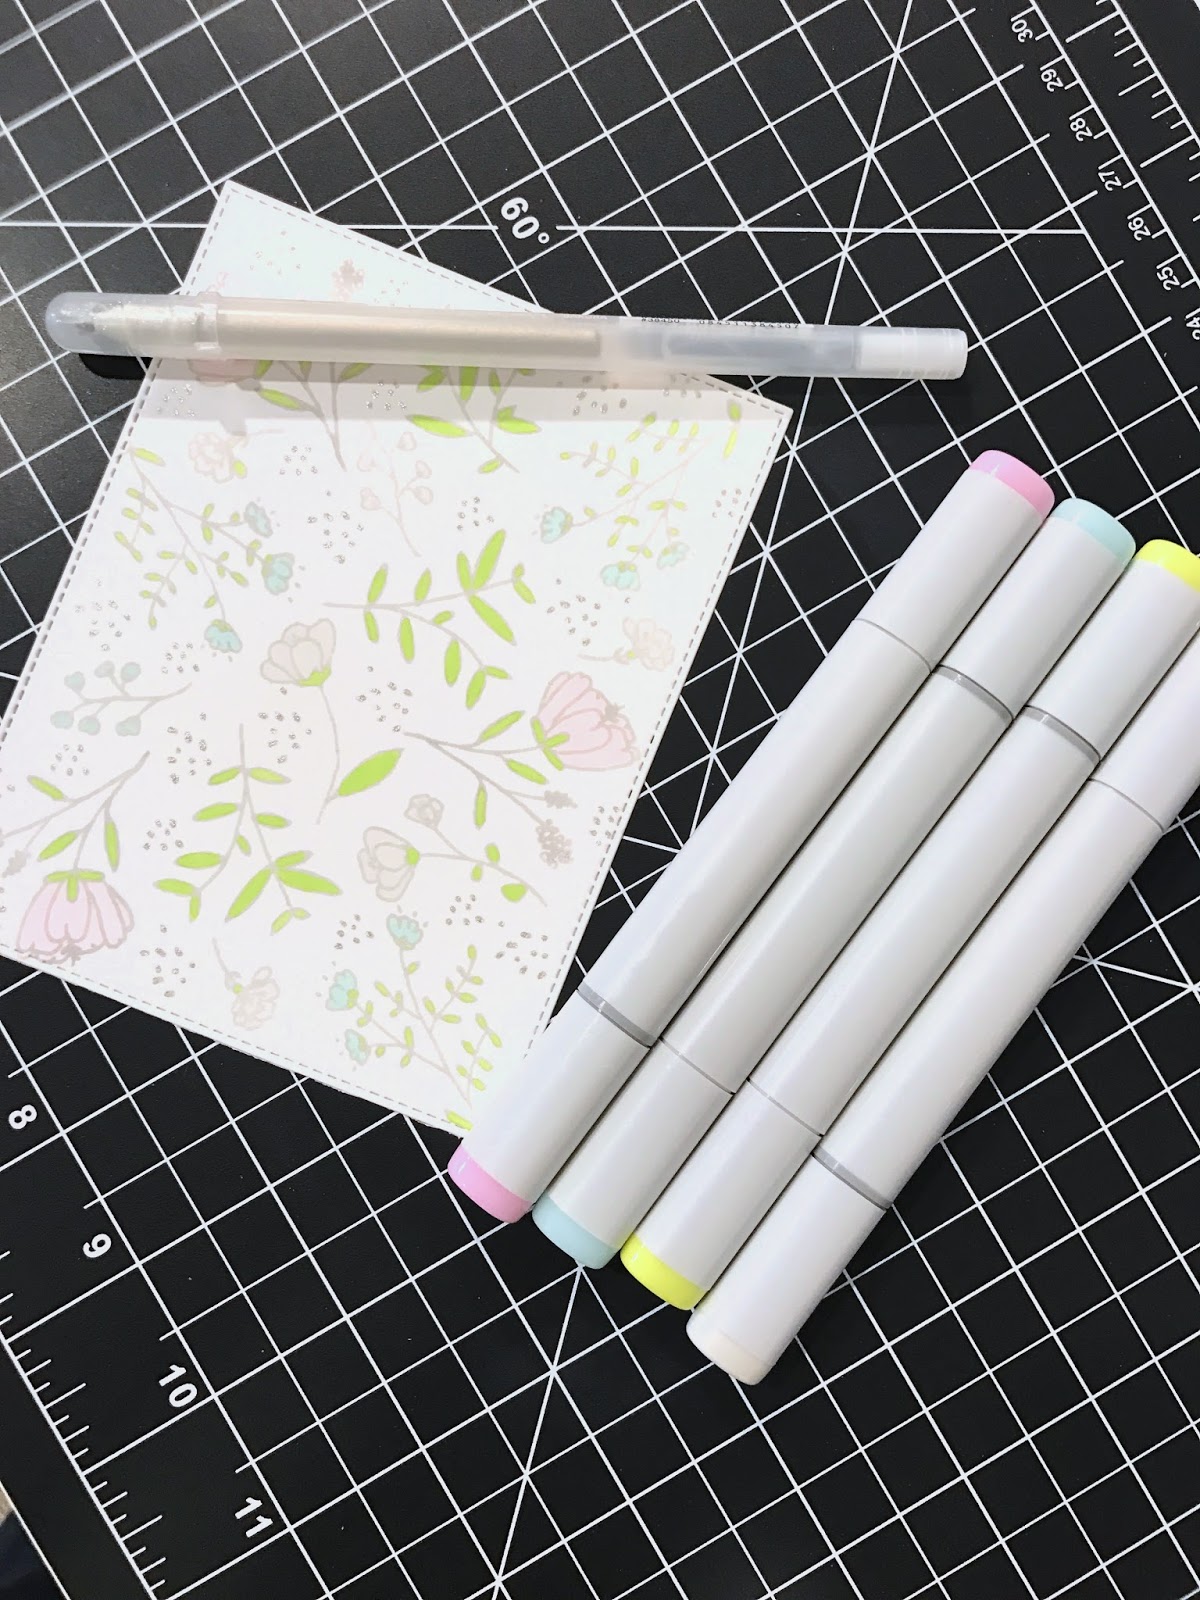
But not content to leave well-enough alone, I decided to try coloring in the background using really soft Copic markers.  Happy with this, I popped the Band Aids up with more foam tape.  I added Pretty Pink Posh sequins and Honeybee Stamp’s tiny leaves (LOVE these!) to add a little sparkle.  I also went over the little dot images with a glitter Gelly Roll pen.  


Some hand stitching with metallic black thread around the panel and the card was done!  


This card came together quickly, so I decided to make another.  This time, I stamped the background a little darker and didn’t color in the images.  I can’t decide which card I like better… I'd love to hear what you think!  


Tuesday, March 27, 2018

Sizzix Animal Portraits Card


Happy Tuesday!  With Easter approaching and spring hopefully showing up this week, there is no better time for a bunny card.  I don’t make a whole lot of cards with cute critters on them, but this one might have changed my mind.  I came across the Sizzix “Animal Portraits” die and I had to have it just for this bunny (it also comes with an adorable bear and cat).  And then decided that she needed a cute outfit and a crown of flowers.  😊  After die cutting the bunny and stitching her facial features, I stitched her a little top made of wool felt embellished with Honeybee Stamps flower sequins and Pretty Pink Posh sparkling clear seed beads.  


The flower crown is made of handmade mulberry rosettes that I’ve had in my stash for years, tiny flowers from Simon Say Stamp’s Blooming Circle die, and branches from Pinkfresh’s Dainty Botanicals stamp set.  I outlined the branches with a copic multiliner to match the sketchy look of the stamped images on top of the frame.  

I then die cut a frame out of Waffle Flower’s Lacy Layers dies (LOVE these dies… I use them ALL THE TIME) and stitched the little holes around the die.  For the background, I used Pinkfresh patterned paper and embellished it with Kat Scrappiness flower sequins and Pretty Pink Posh sparkling clear seed beads.  I added the “hi” sentiment from Simon Says Stamp’s Handlettered Encouragement set.  


Some more Pinkfresh blooms from their Fleur 1 stamp set colored with Zig Clean Color Real Brush pens finished off the frame and the card.  


My daughter loves this bunny and named her Francine.  I hope she brings a smile to your face!  

Tuesday, March 6, 2018

Die Cut Ampersand

I hope you are having a great start to your week!  So, as is apt to happen around here, I recently lost my crafty mojo.  I always seem to find it through die cutting.  I had some little foliage pieces lying around from my "Love" card (you can find it on my Instagram page), so I started coloring and die cutting little flowers.  I might have gone a little overboard, because before I knew it I had a TON of tiny colored pieces lying around.  I love illustrations that combine lots of small details into a larger image, so I decided to try to put these together into an ampersand shape.  I sketched out a rough ampersand and started glueing.

I'll be honest... I almost aborted the mission a  few times.  It looked like a HOT MESS.  But after my kids assured me that they could "kind of" see an ampersand, I pushed forward.  And after glueing a bajillion pieces, I almost cried happy tears when my husband saw it and said, "Oh... an ampersand!"  ðŸ˜‚  So my advice to those taking on a project like this... don't give up!

Another tip... don't be afraid to alter the shape of your die cuts to make them fit.  I cut petals off flowers, leaves off stems... whatever I needed to do to make a shape fit into a space.  And the less white space there is within your shape, the better.  When you're combining little shapes into a larger form, white space actually makes it look busier and messy.  And the fuller the image, the clearer its borders become.


To cut the little flowers and leaves, I used Simon Says Stamp's mini flowers and leaves die, My Favorite Thing's fab foliage die, Altenew's spring showers cover die.  All were cut from Neenah Solar White 110# cardstock and colored with copics.  To finish it I stitched up some beautiful stitched butterflies from Poppy Stamps and added tiny Memory Box vellum butterflies.  A sprinkle of sparkling clear sequins from Pretty Pink Posh and some Nuvo crystal drops, and the card was done!


I should call this card "Wishful Thinking for Spring" because we are expecting 12 inches of snow tomorrow!  ðŸ˜³  To everyone in the line of this storm, stay safe and warm tomorrow!

Custom Post Signature

Custom Post Signature