Monday, August 27, 2018

Rubeena's Crafting Anniversary Blog Hop: Pinkfresh Studios Pretty Paisley


Hello and welcome to Rubeena's Crafting Anniversary 2-Day Blog Hop!  This hop is epic with more than 70 guests and over $1,000 in sponsored prizes!  Not only are we celebrating four years since Rubeena first discovered cardmaking, but also crafting in general.  This industry is made up of wonderful individuals who are creative, kind, and incredibly supportive.  I hope you hop along with us so you can learn about why we create and how much joy it brings us!  If you are hopping along, you might be visiting me from Libby Hickson's blog.  If you're jumping in here, you can start back at Ruby's blog for all the details and the full blog hop list.

You know when you come across someone who you can immediately tell you're going to get along with?  I still consider myself somewhat new to the cardmaking world, but I have been so fortunate to "meet" some really special people who I have really come to enjoy and admire.  My friend, Rubeena, is one of those people.  I still remember the first comment she left on one of my cards because it made me laugh and smile, and that's pretty much what I find myself doing just about every time we talk.  Not only is she insanely talented, she's incredibly supportive, encouraging, and helpful.  And dang, she is funny to boot.  So when she asked me if I would like to participate in her blog hop, my answer was, "OF COURSE!"  I am so honored to be a part of it.

I love that the theme of Ruby's blog hop is celebrating friendship and the joy of creating.  I grew up with an amazing crafty mom, so it wasn't a surprise to anyone when I started crafting myself.  Crafting has always been a source of comfort and peace for me and was actually a pivotal factor in me overcoming debilitating postpartum anxiety, which was one of the hardest times in my life.  I've dabbled in paper crafting and stitching for years, but it wasn't until I found cardmaking that I was able to figure out how to meld my two favorite mediums.  I am having so much fun and meeting so many truly kind, generous, and supportive people... I could not feel any more lucky to have stumbled across this hobby that has brought me so much joy.

I bought Pinkfresh Studios' Pretty Paisley stamp set a while back, but it really jumped out at me when I was choosing my project for this blog hop.  I absolutely love the "Thank you for making me feel good about myself" sentiment, and it was really perfect here because that's the way Ruby makes me feel.  ❤️  I started by stamping out two of the paisleys and painting the details with gouache.


I then added some hand stitched details to the paisleys with little stitches and lots of french knots, and popped up some of these details for dimension.  All that was left to do was pop the paisleys and the sentiment up and the card was finished!


GIVEAWAYS

In celebration of this anniversary, we have several amazing sponsors. Let’s thank them for their generosity! Winners will be randomly selected from comments left on all the blogs. The winners will be announced by Wednesday, September 5 on this page. Winners will have up to 2 weeks to contact Rubeena at ararerubycrafts@gmail.com to claim their prize before another winner is selected.

Studio Katia - $50 gift card
Hello Bluebird - $50 gift card
Altenew - $50 Gift card
Pinkfresh Studio - $30 gift card
Gina K. Designs - $50 gift card
Clearly Besotted - £25 gift card
Simon Says Stamp - $25 gift card
Spellbinders Card Kit ($55 value).
Jennifer McGuire - $50 Simon Says Stamp gift card
Winnie & Walter, LLC - $40 gift card
Mama Elephant - $25 gift card
Hero Arts - $25 gift card
Nichol Spohr LLC - Custom-sewn rainbow pencil case filled with brand new Spellbinders dies
Danielle Flynn - $25 Simon Says Stamp gift card
Picket Fence Studios - four $25 gift cards
Ellen Hutson - two $25 gift cards  
Pretty Pink Posh - two $30 gift cards
The Stamp Market - July 2018 Release (estimated $100 value)
Indigojade Art Shop - $50 gift card to Art Prints & Gifts Shop
Flora & Fauna - a 4x6 stamp set
Waffle Flower - $25 gift card
Power Poppy - $50 gift card

I hope you enjoyed this stop on the blog hop.  Feel free to leave me a comment for a chance to win one of these amazing prizes!  The next stop is the amazing Laura Bassen.  Enjoy the hop and have a WONDERFUL crafty day!  


Tuesday, August 21, 2018

Making Cards with Patterned Paper: Lil' Inker Be the Reason Someone Smiles Today


How much patterned paper do you have?  I have a lot.  Well, like…. A LOT.  I started purchasing patterned paper a long time ago when I started crafting but didn’t really know what direction I wanted to take.  I knew I wanted to make things with paper, and I guess I figured that people who make things with paper buy #allthepatternedpaper.  😕  You guys should see some of the oldies but goodies I have in my stash.  I came across some gorgeous Amy Butler textured paper that has to be a decade old... that is the stuff that supply hoarding is made of!  

Anyway, the fabulous Wanda Guess recently posed a challenge on Instagram to bring patterned paper back.  Challenge accepted!  ðŸ˜€  I started with Lil' Inker's "Be the Reason Someone Smiles Today" stamp set.  To allow both this beautiful sentiment and the patterned paper to shine, I stamped the sentiment on vellum and painted it with gouache.  This was so easy and fun, and there is NO other surefire way to make yourself feel like an artist than to paint Lil' Inker's lettered stamps with paint.  I LOVE these stamps.  


The rest of the card was easy.  My favorite patterned paper designer, hands-down, by far and away, is Paige Taylor Evans.  She is a constant source of inspiration for me, and her patterned paper is just about the only patterned paper I will still allow myself to buy until I use some of this hoard stash up.  I chose a beautiful print from her Take Me Away collection and layered the sentiment on top, stitching it in place with some large cross stitches.  

This card was so simple but so fun.  Thank you, Wanda, for this challenge.  More patterned paper cards are to come!

Friday, August 17, 2018

One Stamp Two Ways: Spellbinders Inked Messages with Stephanie Low


How cool are the new Inked Messages stamps from Spellbinders and Stephanie Low?  They are simultaneously beautiful and edgy… I just love them.  I was so fortunate to be able to create some projects with this gorgeous Grow Newer With Me stamp and die set.  I knew I wanted to create a bold, tattoo-like card with this set as soon as I saw it, but I also wondered if I could make a softer look using the same image.  So I set out to create two cards.  

For my first card, I stamped the image in a background pattern using black ink.  I wanted bright, vibrant color, so I first colored the images in with pink and green Copic markers.  I also wanted to shade my images, and for this I turned to Polychromos colored pencils.  I love the precision I can achieve by shading with colored pencils, which is something I struggle with when using Copics on smaller images.  I used 3 shades of pinks and reds and two shades of green pencils to add shading and dimension to the flowers and leaves.  

After finishing the coloring, I used the coordinating dies to cut out masks for the flowers and splattered the panel with black paint.  After stamping the sentiment on wood grain vellum, I attached it to the card with some stitching around the edge.  I added some black gems to finish it up.  I love the bold, striking look of this card.  


For my second card, I did a 180 and sought to achieve a soft, ethereal look.  I stamped the images in Versamark ink and embossed them with white embossing powder.  I then watercolored the images using Distress Inks (in Spun Sugar, Picked Raspberry, Twisted Citron, and Mowed Lawn).  After watercoloring the images, I added a watercolored background using Tumbled Glass Distress Ink.

I added stitching around the edge using my Celebrations Pierced Rectangle dies and a sentiment from Spellbinders Hugs Expressions stamp and die set.  


Sometimes it is amazing the completely different looks you can achieve with just one stamp set, and this set is such a great example of that.  I love both of these cards, but I would love to hear your thoughts... which do you prefer?  

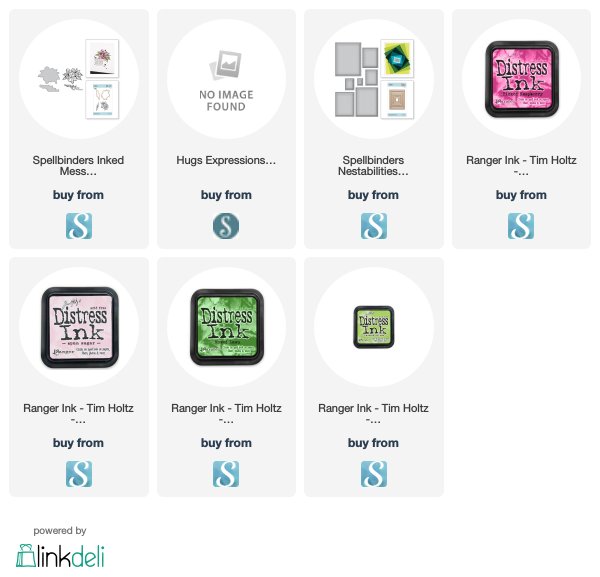
Links to the products I used are below.  I participate in several affiliate programs including Scrapbook.com and Spellbinders.  This means that I receive a small commission at no additional cost to you when products are purchased through links I share here.  Thank you for you support!


Tuesday, August 14, 2018

"Embroidered" Die Cuts: Simon Says Stamp's Modern Flowers


Hello everyone!  I hope your week is off to a great start.  I've had it in my head to make a card with a look of die cuts embroidered directly onto the paper.  What I needed was die cut images with spaces within the image so I could add stitching, and Simon Says Stamp's Modern Flowers die set was absolutely perfect for executing this idea.

This card was really fun and simple to make.  I first die cut my images out and colored the pieces with Copic markers.  I used the negative spaces to adhere the pieces directly onto a navy panel using a strong liquid adhesive.  I used Simon's "Hello there" sentiment, coloring it and adhering it to the panel in the same way.

After this process was done, I poked holes around all the pieces and got to my favorite part... the stitching.  I used complimentary thread colors to backstitch around all the die cuts, making them appear to have been embroidered directly onto the paper.


I finished the card with a small sentiment panel from Simon's Tabbed Sentiments stamp set.  Don't you love it when a vision comes to life in the way you imagined it?  This is usually not the case for me ðŸ˜‚, so I was especially happy when this card came to life.  I hope you enjoyed this card!  If you have any questions about the technique, please leave me a comment and I'll be sure to get back to you!


Wednesday, August 8, 2018

Altenew Build-A-Flower Cattleya Winner!


Thank you to everyone who stopped by for Altenew's Build-A-Flower Cattleya release!  I appreciated each and every comment and I'm so thrilled you all stopped by.  Using a random number generator, the winner of the $20 Altenew gift card is:

Congratulations, Kirsty!  Please contact Altenew at winner@altenew.com by 9/11/2018 with the subject line BAF: Cattleya Winner from Leigh Houston's Stitches in Paper Blog.

I hope to see all of you for the next release and thanks again! xo

Embroidery Hoop Art Card #1: Altenew Embroidered Blooms and Simon Says Stamp


*breathing sigh of relief as I post this card*

OK guys, I'm not gonna lie.  This card made me nervous.  I started out with an idea to emulate some of the gorgeous, modern floral embroidery hoop art that I see on Instagram.  I've had this idea in my head for months and couldn't figure out exactly how I wanted to start, but Altenew's new Embroidered Blooms stamp set really spoke to me and got the creative juices flowing.  Stitching on paper is obviously my jam, but sheesh.  This got stressful.  The problem with paper is that, unlike fabric, if you make a mistake or put a stitch where you do not want it, you're left with a permanent hole.  This is BAD.  ðŸ˜‚  But I learned that if you go slowly and methodically, you can definitely translate some beautiful stitching to paper.

I started by adhering the "hello there" from Simon Says Stamp and stitching around the edge.  I then stamped out the largest flower in the set and stitched along the lines in a satin stitch.


I then filled in the edges with some stitched roses, and added some foliage I found in Sizzix's Funky Florals dies, stitching on the leaves and around stems.  I had some fun adding french knots here and there.  

After I finished the top edge, I went to the bottom edge and used the same techniques.  I stamped the daisy images and satin stitched them, and filled in the middle with another rose.  Some more foliage, leaves, and french knots finished up the edge.  


I added some sparkling clear sequins from Pretty Pink Posh because that has become an absolute compulsion at this point ðŸ˜‚ and a few Tonic Nuvo drops here and there.  

I made the outer hoop using Altenew's Circle Embroidery Hoop die and adhered the card to a circular card base.  And then I let out a huge exhale and stared at the card for a while in utter disbelief that I got through it with no rogue holes or tears.  ðŸ˜¬  


Despite the fact that this card amped up my anxiety level a bit ðŸ˜‰, I'm already thinking that I would like to make another.  Would you be interested in seeing more of these?  And do you have any suggestions for designs?  I would LOVE to hear your ideas!!!  

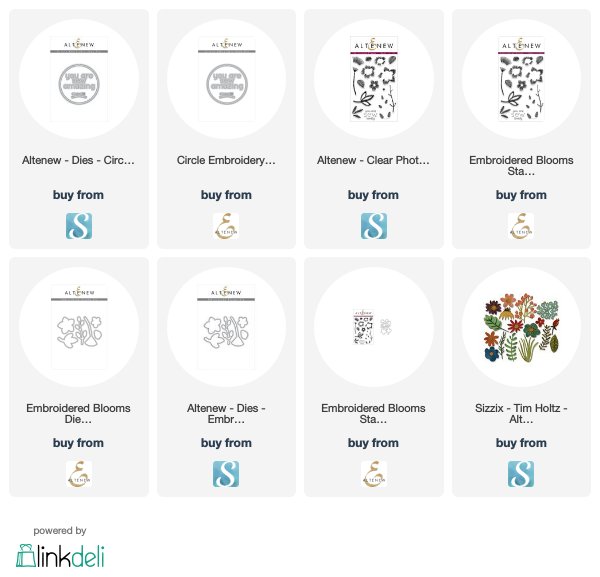
Links to the products I used are below.  I participate in several affiliate programs including Scrapbook.com and Altenew.  This means that I receive a small commission at no additional cost to you when products are purchased through links I share here.  Thank you for you support!


Monday, August 6, 2018

Colorful Layered Die Cut Card with Spellbinders August Large Die of the Month


Can you believe it's August already?  Despite my disbelief that summer is half over, the beginning of the month always brings a smile to my face because that means it's time for new Spellbinders dies of the month!  This new kit is such fun to create with and this card came together so quickly!  

After die cutting a panel with my Spellbinders pierced rectangle dies and adding some hand stitching around the border, I decided to make a colorful, whimsical card with these beautiful dies of the month.  After coloring the die cuts with bright Copic markers, I added some more hand stitching and stacked up 3 layers to create dimension.


I then cut the "happy" sentiment from Spellbinders Happy Expressions stamp and die set and colored it with Copics (I recently picked up a boatload of these Spellbinders Expressions stamp and die sets and I LOVE them... the expressions are so versatile and the fonts are fantastic).  After adding the die and stamping the sentiment, the card was done!  

I hope you enjoyed this card... I am currently thinking up some stationery sets as gifts using these dies because this card was so quick to make (but doesn't look it).  Stay tuned for those!  ðŸ˜Š


Links to the products I used are below.  I participate in several affiliate programs including Scrapbook.com and Spellbinders.  This means that I receive a small commission at no additional cost to you when products are purchased through links I share here.  Thank you for you support!


Wednesday, August 1, 2018

Altenew Build-A-Flower Release: Cattleya


Hello fellow Altenew fans!  I'm so excited to be a part of Altenew's Build-A-Flower Cattleya release!  What a gorgeous, elegant set this is... I had nothing in my stash quite like this and I absolutely loved it as soon as I saw it.

I had so much fun working on two cards with this beautiful stamp set.  Cattleya orchids are such vibrant, striking flowers, and I thought this image would really shine against a dark background.  Gouache paints are my favorite medium for coloring images on dark cardstock.  This was my first time painting a layered stamp set with gouache, and I had so much fun with the process.

I first stamped the outline image from the stamp set using my Misti stamping tool and painted it in with my lightest shade of paint.


I lost all of the inner outlines because I painted them over.  No worries... I just put the card back into my Misti and re-stamped the outline image right over the paint.


Then, using the stamp set as a visual guide, I painted in the flower layers using darker shades of paint.  The layers on the stamp set showed me just where the shadows should be.  I didn't stress about getting them exactly like those on the stamp set... I just used the stamp layers as a guide and painted them loosely.  After finishing the layers on the first image, I masked it off and stamped a second image.  I then painted it the same way I painted the first image.


I was so thrilled with how this flower turned out... the bright, graphic nature of the gouache really gave the flower such a striking look.  I then die cut a "Hello" from Altenew's Blooming Bouquet set out of the painted panel and popped it up to give it some dimension.  The "I hope your day is fabulous" sentiment is right from the Cattleya set... there are so many great sentiments in this set, and I love the typeface!  I stamped and heat embossed it in white so it would pop against the flower.


I had so much fun painting this image that I kept going, painting another couple of images in the same way.  Just layering the gouache paint using the stamp set as a visual guide to add shadows and dimension.  I die cut these two images with the coordinating die from the Cattleya set and layered them up to give some height and interest to the card.  I stenciled a panel with Citrus Burst Ink  and Altenew's Watercolor Stripes stencil and heat embossed the sentiment from the Cattleya set.  I used the flowers to frame the sentiment and this card was done!


PRIZES!

To celebrate this release, Altenew is giving away a $30 gift certificate to six lucky winners!  Please leave a comment on the ALTENEW CARD BLOG and/or ALTENEW SCRAPBOOK BLOG for a chance to win.  Three winner will be announced on the Card Blog, and the other three winners will be announced on the Scrapbook Blog on 8/8/2018.

I am also thrilled to be giving away a $20 gift certificate right here!  Just leave me a comment below and I will choose a winner on 8/5/2018.  Good luck!

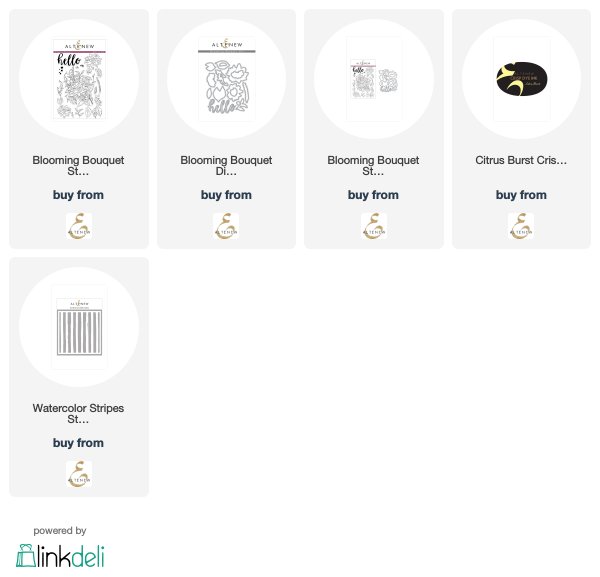
I hope you enjoyed these cards.  Links to the products I used are below.  I participate in several affiliate programs including Altenew and Scrapbook.com.  This means that I receive a small commission at no additional cost to you when products are purchased through links I share here. Thank you for your support!  And thank you so much for visiting my blog... I hope you love this set as much as I do!


Custom Post Signature

Custom Post Signature