Friday, July 27, 2018

Stitch Your Embossing Folders: A Christmas in July Card


Merry Christmas in July, my friends!  I'm just barely getting this card in under the July wire.  As strange as it felt to make a Christmas card in 85 degree weather, it made a lot of sense to stitch another of these cable knit cards and turn it into a holiday card since I had so much fun stitching up the first one.

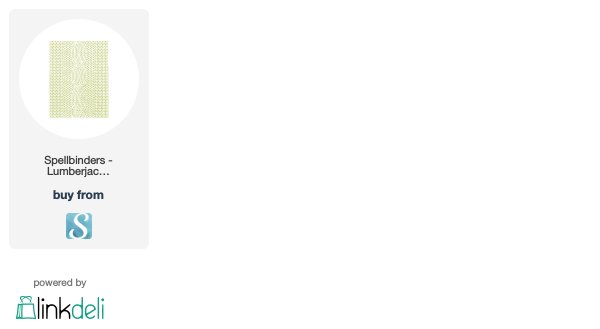
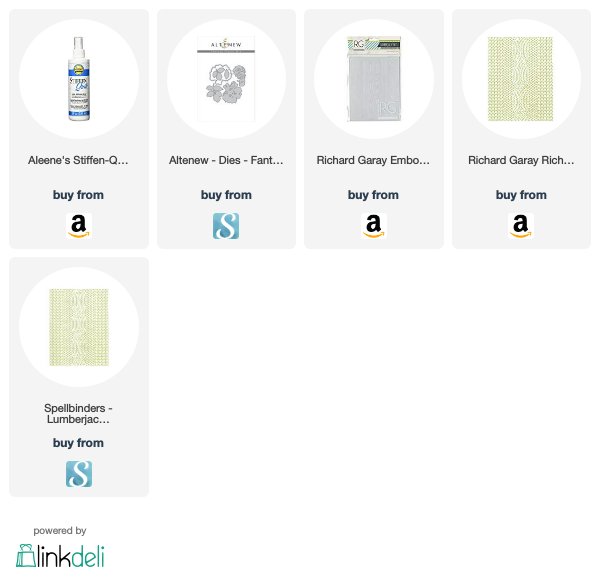
I have a stash of embossing folders that, I have to admit, do not see the light of day very often.  They are so pretty and affordable that I often scoop them up, admire them, and then put them in a container where they languish away unnoticed.  Not anymore!  I was watching Jennifer McGuire's recent video on creative techniques with embossing folders when I was inspired to flip through my stash.  When I came across this Spellbinders Lumberjack Days folder, I had an a-ha moment that it would look beautiful with some hand stitching.

After embossing a panel using my Sizzix Big Shot, I started poking holes at the end of all of the embossed stitch lines.


I know some of you are thinking, "this chick is crazy."  But I promise you, it's not as tedious as it looks.  I was able to poke all of the holes relatively quickly... it is a great activity while you "watch" TV (watching TV while crafting, for me, usually consists of 90% listening and 10% actual watching... what should we call that?  Craftwatching? 😂).


After poking the holes, I found a skinny needle in my stash and got to stitching.  I used two strands of DMC embroidery floss for the middle cable knit section, and three strands for the sides.


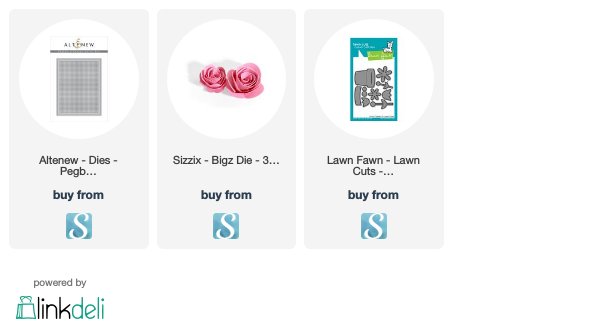
After stitching up the background, I finished the card with my favorite Simon Says Stamp Fa La La die and Pretty Pink Posh's Festive Holly leaves and berries.  Some sparkling clear sequins and everything came together beautifully.


I hope you enjoyed this card and tutorial.  I have an idea... why don't we all go buy ourselves some crafty Merry Christmas in July gifts to ourselves?  A little "Merry Christmas to us?"  Who's with me? 😊

Links to some of the products I used are below.  I participate in several affiliate programs including Scrapbook.com and Spellbinders.  This means that I receive a small commission at no additional cost to you when products are purchased through links I share here.  Thank you for you support!


Thursday, July 26, 2018

Simon Says Stamp's Friendly Frolic Release: Tabbed Sentiments


The Simon Says Stamp Friendly Frolic release is here!  What fun!  I was so thrilled to be able to create with their new Tabbed Sentiments stamp set.  This is such a fun, versatile set full of small sentiments.  Stamp sets like these used to be some of the more under-appreciated sets in my stash.  Now they are some of my absolute favorites.  I love how small sentiments can be used as focal sentiments themselves or used to highlight larger stamped or die cut sentiments.

I was really wanting to stitch up a summery background, so I pulled out Altenew's Cross Stitch Pegboard die, cut a circle out for the sentiment and cross stitched a plaid in shades of pool, white and green.  I also thought some felt flowers would accent the sentiment nicely, so I used Lawn Fawn's Fab Flowers die and Sizzix's 3D flowers die to create some fun and easy felt flowers.  I then stamped my sentiment inside the circle and adhered the flowers around the edge.


I had so much fun creating this card!  Links to some of the products I used are below.  I participate in several affiliate programs including Scrapbook.com and Spellbinders.  This means that I receive a small commission at no additional cost to you when products are purchased through links I share here.  Thank you for your support!


Friday, July 20, 2018

Cable Knit Card with Altenew and Spellbinders


Happy Thursday, everyone!  Wow, summer is in full swing and crafting time is in short supply, so I am truly treasuring the moments here and there where I can squeeze in some quiet time to create!  I created this card by stitching up the Spellbinders Lumberjack Days embossing folder.  I wasn't sure how this was going to turn out so I did not photograph a tutorial, but I LOVE the end result so a tutorial is in the works!

Stitching up the embossing folder gave such a beautiful knit look to the card, and I love the texture it provided.


To assemble the card, I die cut a rose from the beautiful Fantasy Floral die from Altenew (to add stability to the wool felt prior to die cutting, I used my favorite Stiffen Quik spray).  I adhered the layers together and adhered the rose to the card.

I added a hello sentiment from Mama Elephant and a "my sweet friend" sentiment from Simon Says Stamp's Hello You stamp set.  Some Pretty Pink Posh gold sequins finished everything beautifully.


Links to products I used are below.  I participate in several affiliate programs including Scrapbook.com, Spellbinders, and Amazon.com.  This means that I receive a small commission at no additional cost to you when products are purchased through links I share here. Thank you for your support!  

I will be back with a full photo tutorial for stitching your embossing folders... it is SO FUN!!!  Have a beautiful day and I'll see you soon!


Wednesday, July 18, 2018

Altenew Color Therapy Blog Hop Winner!


I want to thank everyone for hopping along with Altenew's Color Therapy blog hop - I appreciated each and every comment and I'm so thrilled that you all stopped by!  Using a random number generator, the winner of the $20 Altenew gift card is:


Congratulations, Robyn!  Please contact Altenew at winner@altenew.com by 7/30/2018 with the subject line Altenew Color Therapy Blog Hop Winner from Leigh Houston's Stitches in Paper Blog.

I hope to see all of you on the next blog hop and thanks again! xo

Thursday, July 12, 2018

Altenew Color Therapy Blog Hop + Giveaway!


Hello fellow Altenew fans!  If you're hopping along with us, you might be visiting me from wonderful Erica's cacacrafts blog.  If you're jumping in here, you can start back at the Altenew Blog  for all the details.  I also have the entire blog hop list at the end of this post in case you've missed anyone!  ðŸ˜Š  

I am beyond excited to be participating in Altenew's Color Therapy Blog Hop.  Crafty confession: I do not take the time often enough to sit down to color just for fun and relaxation.  I usually have a specific end product in mind and set out to execute it (which can sometimes be frustrating when things don't work out the way I want them to!)  So when Altenew asked me if I would like to participate in a blog hop that celebrates the joy of just coloring, I jumped at it.  

This was a fantastic opportunity for me to try Altenew's Artist Markers for the first time.  Wow, do I love these markers.  The blending is easy and seamless, the colors are vibrant and gorgeous, and there was absolutely no bleeding or wicking of the ink, which I have (too often) experienced with other markers.  I chose to color Altenew's Blooming Bouquet Stamp Set.

My technique was so simple.  Just flick on color.  I didn't pay attention to light sources or anything too technical.  I started by filling in an image with the lightest color, then flicking on a medium shade.  


I then flicked on the darkest shade where I thought the deepest shadows would be, and blended out the colors using the medium shade. 

I continued this process until I had finished the image.  I had so much fun that I colored it twice!  


I ended up making two cards with these images.  I really wanted to highlight the coloring on both cards.  For the first, I stitched a simple sentiment using the "Hello" stamp from the same Blooming Bouquet set.


For the second, I cut up the images and centered them in these fun frames from Altenew's Framed Stamp and Die set.  I was aiming to make the images look like miniature art pieces hanging on a wall.  The sentiment is from Altenew's Focus on You stamp set.


I hope you enjoyed these cards!  I am feeling total #fullsetsyndrome for these markers.  Luckily, Altenew's Artist Markers are 15% off right now!  You can save 15% on all Artist Markers with code HAPPYCOLORS at checkout here: Altenew Artist Markers This is valid 7/12/2018 at 12:01 AM EDT through 7/15/2018 at 11:59 PM EDT. Not valid on previous purchases. Cannot be combined with other promo codes.

PRIZES!!! 

To celebrate this blog hop, you have a chance to win a $20 gift certificate right here!  Just leave me a  comment below and I'll choose one lucky winner by July 18, 2018!  Good luck!!!

Altenew is ALSO giving away a $30 gift certificate to six lucky winners! Please leave a comment on the Altenew Card Blog and/or Altenew Scrapbook Blog by Wednesday, July 18th for a chance to win. Six winners will be announced on the Altenew blogs on 7/22/2018.

Thanks so much for visiting my blog!  Next stop on the blog hop is the amazingly talented Norine Borys.  Have a WONDERFUL day!!!

The blog hop order is:


Tuesday, July 3, 2018

Enhancing Die Cuts with Stitching: Spellbinders July Small Die of the Month


So it's a great day when the fabulous Yana Smakula reaches out to you to see if you would like to play with the Spellbinders July Small Die Kit of the Month.  It is an even greater day when you see the FABULOUS dies she would like to send you.  Paisleys and flowers?  No need to ask me twice.

No joke... I have been looking for a beautiful paisley die for what seems like ages.  I love paisleys.  When I saw the image of the paisley die in this kit, I did a happy clap (for real - I really did).  So in a move that would probably surprise everyone, I reached for the paisley before the flowers (which are amazing in their own right... more on those to come).  That's how much I LOVE this paisley die.

With sweltering temperatures, all I've been dreaming out is lying out on the beach with a cold fruity drink in hand.  So I reached for some juicy summer colors when creating these cards.  I started by die cutting a bunch of the paisleys and coloring them with Copic markers.


I then stitched around the borders of the paisleys, using the little dot accents as stitch holes.  And here comes my *A-HA!!!* moment when creating this card.  I did not have that "just right" shade of pink thread and wasn't sure what I was going to to for stitching on the orange paisleys.  Then it occurred to me... why not try to color some white thread with the pink marker I had used?  Ding ding ding!  It worked!  I'm sure I'm not the first person to think of this, but I was really pleased with this improvisation.  I will say... this does stiffen the thread a bit, so I wouldn't necessarily want to do this for larger projects or when using larger quantities of thread.  But for small accents like this, it was PERFECT.  I'll be using this technique a lot.


After coloring and stitching, I assembled my paisleys by stacking up the frames, creating lots of pretty dimension.


A crafty confession... I'm not always the best at figuring out card composition (whether it be colors, placement... there's usually something I need input on).  I usually ask my husband and kids what they think (love them for helping me with my cards!), and this was one of the rare instances where we were split down the middle with a white background or blue background.  So I made one of each!


And now we would love your help because we are hopelessly deadlocked... which do you prefer?  The white or the blue?  We are hopelessly competitive and we need to figure out the winner!   ðŸ˜‚

Monday, July 2, 2018

Using Dies as Stencils for Stitching Templates: Altenew's Layered Floral Cover and Cross Stitch Canvas Dies


Happy Monday!  Is everyone settling into summer?   It is HOT here... I am perfectly content to stay home and get some crafting done until this heat wave passes.  100 degree temps?  NO thank you!

I've been meaning to share this cross stitch card I sent off to a crafty friend for a while.  I wanted to create a card using a cover die as a stencil, and chose Altenew's Layered Floral Cover Die A and their awesome Cross Stitch Canvas die.


After die cutting both panels, I used the layered floral die as a stencil to create the cross stitch pattern.  I colored in the sections using Copic markers.  


I then chose my thread colors and went to stitching!  


I'm not gonna lie... this stitching project is not for the faint of heart.  This took a while.  But it was well worth it.  I finished it with one of my favorite sentiments from Hero Arts and some Pretty Pink Posh sparkling clear sequins.  


I hope you enjoyed this tutorial and card!  Have a great start to your week!  


Custom Post Signature

Custom Post Signature