Sunday, March 8, 2020

My Favorite New Technique: Spellbinder Glimmer Hot Foil Card


Hello, crafty friends!  I don't know about you, but I've seen some absolutely gorgeous cards made with the Spellbinders Glimmer Hot Foil System.  I bought myself a Glimmer system quite a while ago but for reasons I can't quite articulate, I found myself a little... intimidated?  I don't know if that's exactly the word I'm looking for, but I suppose I was afraid that I wasn't going to know how to work it "right," or that my results wouldn't be what I was hoping for.  

I am here today to tell anyone who has similar feelings to throw them out the window.  This system is incredibly easy to use, and I achieved beautiful results my very first time using it.  Lucky for us, crafting gurus like Yana Smakula and Jennifer McGuire have put together incredibly comprehensive tutorials for us on YouTube, and I highly recommend watching them before using this system.  They make it look so easy... and it is!  

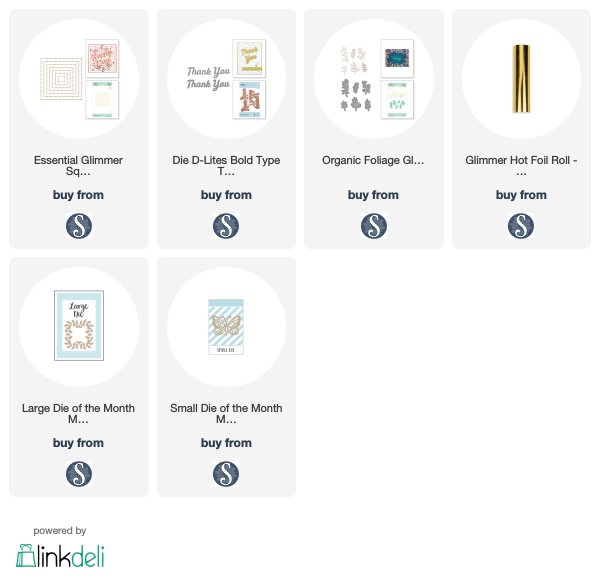
I was thrilled to make this card today with the Spellbinders Essential Glimmer Squares hot foil plates.  I started my card by hot foiling a beautiful square onto gray cardstock.  I then die cut pretty flowers using my favorite Spellbinders floral dies (most of these are from their monthly large and small die club kits, which are my favorite) and arranged them into clusters at the corners of my card.  Before adhering them down, to add even more shine, I added some foliage from Spellbinders Organic Foliage hot plate and die set onto the gray card cardstock.  I then adhered my floral bunches over top.  


I then die cut a Thank You sentiment from gold cardstock using Spellbinders Die D-Lites Bold Type Thank You die and adhered it onto my card.  I arranged my card with a stitched yellow strip underneath and finished it with some sparkly clear sequins.  


I am so happy I finally mustered up the courage (LOL) to try this amazing system.  It was SO easy and every time I peeled off the gold foil, I couldn't stop oooohing and aaaahhing over the results.  I highly encourage you to try this technique if you're a sucker for shiny and sparkly like I am!  

Links to the products I used are below.  I participate in the Spellbinders affiliate program, which means that I receive a small commission at no additional cost to you when products are purchased through the links I share.  I truly appreciate your support!  

I hope you enjoyed this project!  I had a blast making it.  Thank you so much for stopping by and have a wonderful day!  


Thursday, March 5, 2020

Simon Says Stamp Lucky to Know You Release: Suzy's Spring and Easter Wishes Watercolor Prints


Is it time for spring yet?  I don't know about you, but I am beyond ready for warmer weather and getting back outside!  I was lucky enough to be able to create a card with the new Suzy's Spring and Easter Wishes Watercolor Prints from Simon Says Stamp's new Lucky to Know You release, and these adorable prints were just the thing to put me into a spring mood!

I was so impressed with the quality of these prints; they are printed on Tim Holtz watercolor paper and are really thick and sturdy.  Even though I knew they were technically watercolor prints, I decided to break the rules and stitch one up instead.  I was a little nervous because the medium is watercolor paper, but I tried some simple Copic coloring on the images and it worked beautifully!  After adding some pretty spring shades, it was time to stitch them up.


The stitching couldn't have been easier... I just followed the lines and added stitched details.  I used french knots on the little sheep to give them a fluffy texture, and on the rest of the card I used a simple backstitch.

To finish the card, I added a postcard frame with some quick hand stitching, some felt flowers over top of the daisy images, and some gems from Little Things by Lucy's cards.  I can't wait to use this on my Easter table!


I hope you enjoyed this project!  Links to the products I used are below.  I'm off to take a look at all the new products... Simon Says Stamp release days are just so fun!


I really appreciate you taking the time to stop by!  Have a wonderful day!


Custom Post Signature

Custom Post Signature