Wednesday, January 29, 2020

Stitched Postcard with The Greetery's BotaniCuts Rose Die


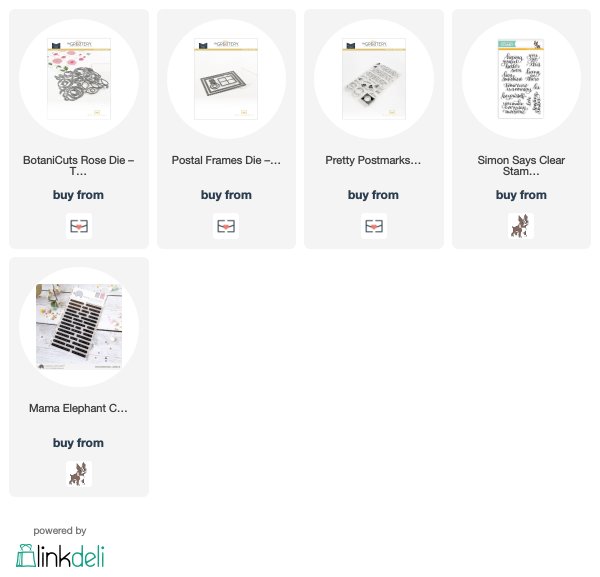
Do you ever feel like a stamp company has tapped into your head and designed something that is just perfect for you?  This is exactly how I felt when I saw the latest release from The Greetery... especially when I saw the new BotaniCuts Rose and the Postal Frames die set.  It's no secret that I love flowers, and if you look through my past creations, I definitely have a thing for postcard-themed cards.  These two die sets have already established their place in the container I use for my most-loved products!  

I started this card by making the roses.  I cut the layers out of Neenah Solar White 80# cardstock (I usually use Neenah's 110# cardstock, but I find it easier to create dimension out of die cuts with the lighter weight cardstock without distracting creasing).  I colored the layers with Copic markers to create a base layer of color, when sponged on highlights and deeper shades using sponge daubers and a combination of Distress Oxide inks and different pigment inks.  One big tip... if you try this technique, experiment with adding blue or turquoise shades to your leaves.  It adds such interest and life to foliage!  


I assembled my flowers, bending the petals at the edges to create some beautiful dimension.  


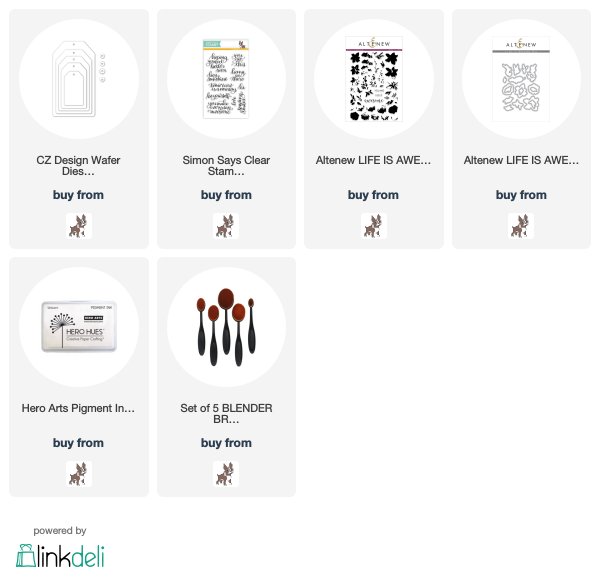
The Postal Frames die set made the assembly of this postcard so easy (although I had to add some hand stitching around the frame #justbecause).  I created a quick watercolor background using my Altenew watercolor pan set.  To finish, I added sentiments from Simon Says Stamp and Mama Elephant.  

I loved making this card!  I created quite the craftalanche creating the roses and foliage - it was just too much fun experimenting with different color combinations.  I already have another idea for a project using these gorgeous blooms as a focal point... I can't wait to get started!  


I hope you enjoyed this project!  Links to the products I used are below.  Thank you so much for stopping by and I'll see you soon!  

Monday, January 13, 2020

Crafty Resolutions and Thoughts on the Future: Coloring the You Make a Difference Stamp Set from Pinkfresh Studios and Hero Arts


Hi, crafty friends!  I hope you all had wonderful holiday seasons.  Ours was busy, but in the best of ways (day trips here and there, and a quick getaway to the mountains for our New Year's celebration, which is a favorite family tradition).  I'm not usually one to make New Years resolutions (I'm pretty impulsive, so I just make changes as I go along), but I found myself reflecting on what my goals are with crafting for the upcoming year.  I've learned a lot about what I like - and don't like - about paper crafting since I started his hobby a couple of years ago.

As I really started thinking about this, I was inspired to do some relaxing coloring.  The gorgeous You Make a Difference stamp collaboration between Pinkfresh Studios and Hero Arts was one of my most favorite stamp sets from last year, so I pulled it out to do some coloring and reflecting.  This was also a fantastic excuse for me to try out my new Caran D'Ache Luminance colored pencils that I gifted to myself (Merry Christmas to me!  LOL  And by the way, these pencils are AMAZING).  I just love using colored pencils on the beautiful blooms and foliage in this set.


One of my big revelations has been that I love the process of creating as much as I love the results.  What this means is that it usually takes me hours (and sometimes more and more hours) to finish a project.  Although I have no problem with this because I enjoy it so much, the thought of someone throwing away a card that took me all those hours to make pains me just a bit.  What this has translated to is that the cards end up going to those who really appreciate the time that went into them... but this is also limiting.  And I don't want people to feel pressure into keeping something that I've sent them just because they know it took me a long time.


So what does all this mean?  I'm throwing around some ideas in my head that will allow me to keep card making but also expand into projects that might make more sense in terms of the time spent on them.  I am just starting to design some new ideas... I have no idea whether they'll work or whether I'll enjoy making them as much as I hope I will, but nothing ventured, nothing gained (I hope)!

Links to the products I used are below.  I participate in the Scrapbook.com affiliate program, which means that I receive a small commission at no additional cost to you when products are purchased through the links I share.  I truly appreciate your support!

I hope you enjoyed this project and that I didn't lose you in my crafty rambling.  LOL  Thanks so much for stopping by, and I'll be back soon... hopefully with some of the fruits of my New Year's thinking!


Thursday, January 9, 2020

Simon Says Stamp Hey Bestie Release: Nested Tags by CZ Design


Happy New Year, and happy Simon Says Stamp release day!  I am so thrilled to be here today sharing a card I made with the new Nested Tags die set by CZ Design.  I did a little happy clap when I opened these tags.  These are one of those staples that every crafter should have in their stash... and amazingly, I didn't own any!  These are just perfect sizes for both gift tags and for card making - they will be getting a workout here for sure.

I've been wanting to try a faux chalkboard look for a while now, and what could be cuter than faux chalkboard tags?  I cut two tags out of black cardstock and used Simon's Handlettered Encouragement stamp set to emboss two sentiments in white.  I then used blending brushes and white pigment ink to give them that chalky look by swiping the ink across the tags.  So easy!  I added a gold grommet and some green twine to finish them up.


I embossed a white card base with a knit-textured embossing folder.  I then used Altenew's Life is Awesome stamp set to stamp an array of colorful flowers and used the coordinating die set to cut them out.  I arranged some of the flowers on the tags, but decided that I wanted to avoid white lines around those flowers so I used a black pen to outline around the images.  I then arranged the rest of the flowers onto the card base, adding my tags on top.  Nothing I make seems quite finished without at least a little bit of stitching, so I dotted some french knots here and there amongst the flowers.  And that was it for this floral card... it came together so easily.


This is just the PERFECT set of tags and I had so much fun making this project!  Links to the products I used are below.  Thank you so much for stopping by, and I'll see you soon with another project!


Custom Post Signature

Custom Post Signature