Wednesday, July 31, 2019

Freehand Cross Stitched Card: Cross Stitching on Cards with No Dies


Hello, my friends!  I am so happy to be back posting regularly again.  Between the kids being home for summer (yay!), traveling, and the light switches shorting out in my craft room, there's been sporadic creating and no time or ability to photograph what I've made.  Luckily, the lights are back on and I've finally been able to take some pictures of what I've been working on!

With no lights in a lower-level craft room, I've found myself gravitating towards projects I could easily transport around the house without too much hassle.  Translation: LOTS of stitching has been happening!  This stitched card was directly inspired by a recent trip to the gorgeous Lake Placid region in New York.  We spent a week admiring gray clapboard farmhouses and fields of wildflowers, and this card was a result of all of these beautifully-serene surroundings.

I used one of my favorite no-die cross-stitching techniques for this card.  To start, I used a woodgrain background stamp from Hero Arts to stamp a tone-on-tone background on gray cardstock.  I then started stitching.  I created and printed out the following pattern on printer paper (sized to fit a standard A2-sized card in my computer's word processing program):

I cut out the pattern, taped it over my card base, and poked holes in all the corners where I would be stitching.  This process takes only a short while (and I find it strangely meditative).

All that was left to do was stitch!  So easy!


I finished the card with a Hello Sunshine sentiment using Simon Says Stamp's "sunshine" die.  I mounted the card on coordinating sunshine-y yellow cardstock.

I love these freehand cross-stitched cards... they are so unique and unexpected, and I love how the images "float" on the card base without any extraneous holes.  I hope you enjoyed this project and that those of you who enjoy stitching try out this really simple and easy technique.  See you soon with another stitched project!


Sunday, July 28, 2019

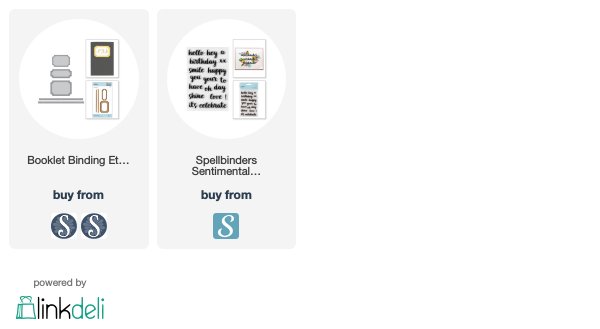
Handmade Booklets: Spellbinders Booklet Binding Die by Paul Antonio


Hello, crafty friends!  I am so excited to share this crafty project with you.  When Spellbinders asked me if I would like to create a project with a product from the new PA Scribe collection by Paul Antonio, I jumped at the chance to create some cute booklets with the new Booklet Binding die.  I've seen people create their own books and booklets with hand binding, but I had no idea how to go about it.  These dies took all the mystery away, and I had these pretty, embellished booklets done in just minutes!  

The thoughtful folks at Spellbinders have published an extremely helpful guide on how to use these booklet binding dies here, and I used these instructions to make my projects.  I simply trimmed a piece of pretty patterned paper to 6" x 8" and used the larger die to emboss a fold line and make the stitch holes along the center.  I used some text weight paper cut to 5.57" x 7.75 " in the same fashion to cut my interior pages.  Following the guide, I simply used 6-strand embroidery floss to make the binding for the little booklets.  So easy!  

My daughter and I embellished these little booklets together, using charms, tassels, die cuts and patterned paper.  We used Spellbinders' Sentimental Words stamp set to stamp a "smile" sentiment for one of our booklets.  The possibilities for these booklets are endless, and I can't wait to make more as gifts.  They would make the PERFECT teachers' gifts... I'm thinking of sets to match some  personalized cards.  So fun!  


I hope you enjoyed these projects.  Links to the products I used are below.  I participate in the Spellbinders affiliate program, which means that I receive a small commission at no additional cost to you when products are purchased through the links I share.  I really appreciate your support!  

Thanks so much for stopping by, and I'll be back soon with some new projects!  


Thursday, July 25, 2019

Besties Forever Card: Spellbinders Small Die Kit of the Month July 2019


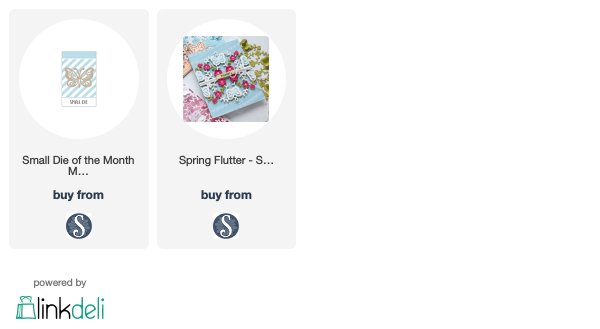
OK, how CUTE are these little guys?  There's no secret that I love Spellbinders Die of the Month Clubs... they are one of the best values out there and they never fail to disappoint.  This month's small die selection is this cute dog and cat duo... I just love them!

I made this sweet "Besties" card using this month's dies and it couldn't have been easier.  I cut out an oval-shaped panel out of patterned paper, stitched around the oval opening, and backed it with some craft foam for some dimension.  I then assembled my little scene inside the oval using this month's dies.  I cut out my pieces from Neenah 110# cardstock and colored them with Copic markers before assembling them.  I then decided to accent the little scene with flowers from Spellbinders' Spring Flutter Small Die of the Month from February 2019.  A few flower sequins and some simple sentiments and this card was finished!  So sweet and easy.


I hope you enjoyed this project!  Links to the products I used are below.  I participate in the Spellbinders Affiliate Program, which means that I receive a small commission at no additional cost to you when products are purchased through the links I share.  Thank you so much for your support!

I'll be back soon with some more projects!  Thanks so much for stopping by!


Simon Says Stamp Believe in You Release: Daisy Square Stitched Card


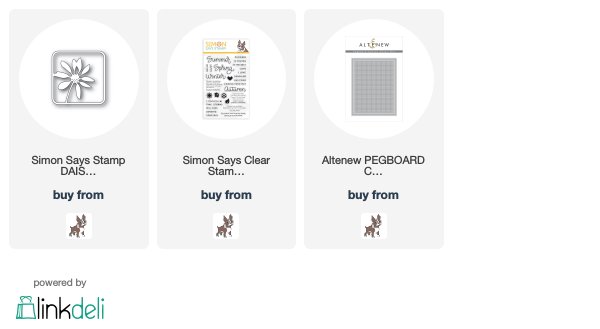
Hello, everyone!  I am so excited to be back today to celebrate Simon Says Stamp's newest Believe in You release.  I was so fortunate to be able to create with Simon's new Daisy Square die.  Perhaps not shockingly, the first thing I thought of when I saw this sweet little die was "stitched card!"

I started out my card using Altenew's Pegboard Canvas Cover Die to cut a panel out of Neenah Solar White 100# cardstock and cut out a square in the middle.  I stitched up the canvas using some juicy hues in a plaid pattern... I'm not sure why, but plaids just speak to me this time of year!  I inlaid the Daisy Square (colored with some Copic markers) inside that square cutout and added a layer of acetate behind it.  Then I simply turned the card over and filled the little center square with some daisy sequins).  I added a backing panel to trap the sequins inside.

For my sentiment, I stamped "Sending Summer Sunshine" from Simon's Four Seasons Sayings stamp set, embossing the "sending" and "sunshine" in white.  I stitched over the "summer" for some added interest.  I then finished my card by adding some sequins over the stitching for even more sparkle.

I had such a blast making this project and I hope you enjoyed it, too!  Links to the products I used are below.  I'll be back with some more projects... I've been busy creating!  See you soon!  


Custom Post Signature

Custom Post Signature