Sunday, November 10, 2019

Stitched Holiday Card: Waffle Flower Merry Wreath Stamp and Die Combo


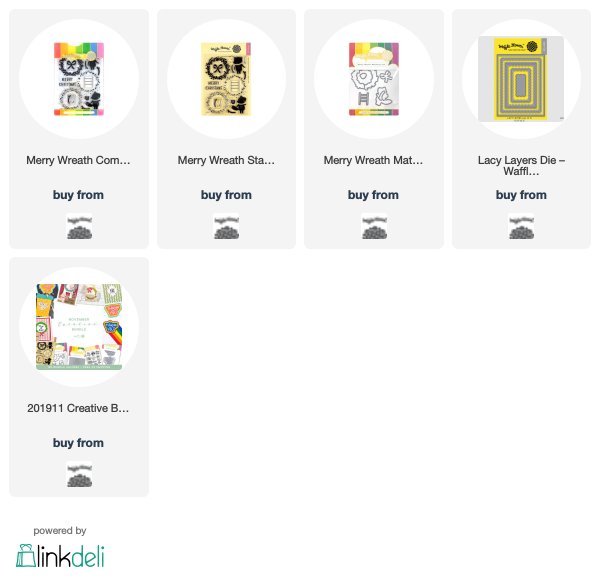
Hello, everyone!  I am so happy to be back today with another card made with Waffle Flower's new Creative Bundle.  I used the new Merry Wreath stamp and die combo to make this holiday card and it couldn't be cuter!

I started out by stamping my fox and wreath with die inks.  These images stamp beautifully, but I thought I'd try to add some colored pencil accents to the images.  Using my Polychromos pencils, I added some depth with different green shades to the wreath and some furry details to the fox with some warm gray pencils.  Coloring in die cuts like this is such a fun way to sneak some coloring in without huge time commitments!


I used my Lacy Layers die set to cut a pretty scalloped panel, stamped the "Merry Christmas" sentiment in the corner, and added stitching around the border.  I made a "Joy" banner by hand by fussy cutting the banner flags and coloring them with Copics.  I then drew on the letters and stitched over them to make the banner look as though the sweet little fox had made it.

All that was left to do was adhere my images to the panel.  I popped the panel up with craft foam and adhered it to patterned paper underneath for some added interest.


I hope you enjoyed this project; I had so much fun making it!  Links to the products I used are below. I was beyond honored to be a part of Waffle Flower's November release, and I can't wait to use some of the other gorgeous products.  Thanks so much for stopping by and I'll see you soon!

Thursday, November 7, 2019

Stitched Inlay Card: Waffle Flower Herringbone Panel


Hello, friends!  I am so happy to be back today with a card I made using Waffle Flower's new Herringbone Panel die.  This is one of those versatile dies that can not only stand on its own (it has its own sentiments... so cool!), but can also be paired with just about any theme for lots of added interest in the background of your project.  I chose to make the die itself the standout today with a card featuring lots of easy stitching.

I love using dies to create stitched cards, and this one made it so easy!  To start, I adhered double-sided adhesive on the pack of a piece of white cardstock and die cut my herringbone panel.  I then adhered the panel on top of another piece of white cardstock.  I chose a pretty rainbow of threads and started stitching!  All I did was poke holes into the little rectangular cut-outs and stitch a simple backstitch, slightly offsetting each row.  This went surprisingly quickly!


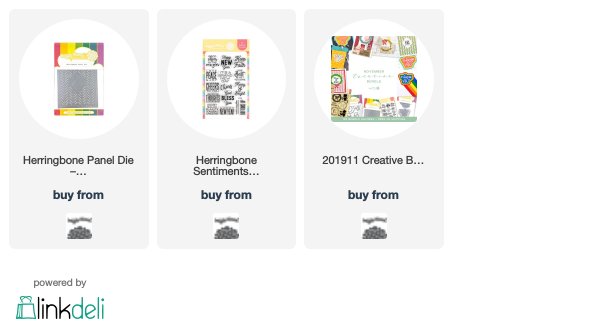
I used the Herringbone Sentiments stamp set to stamp my sentiment onto another panel I cut with the die.  I fussy cut the sentiment out, added some stitching around the border, and popped it up with some foam tape.

I added a few clear sequins here and there and this card was finished!  I love the texture and dimension that stitching adds to dies like these!


I hope you enjoyed this project!  Links to the products are below.  I'll be back soon with another project I made using the Creative Bundle from Waffle Flower's November release.  Thanks so much for stopping by and have a wonderful day!


Tuesday, November 5, 2019

Stitched Thank You Cards With Waffle Flower's Rainbow Thank You Die


Happy Tuesday, everyone!  It is a happy day, indeed, because it is Waffle Flower release day!  I am so thrilled and honored to be participating in Waffle Flower's November release, and I just love the fun products!  I have two cards to share with you today that I made using the new Rainbow Thank You die.


I LOVE this die.  Like really REALLY love it.  The first card I made with this card makes me so happy because it brought me straight back to my childhood.  This die has such a cool retro vibe.  When my husband saw it, he said it reminded him of School House Rock (and proceeded to sing "I'm just a bill; Just an ordinary bill; And I'm sitting here on Capitol Hill..."  Anyone else remember that song?  LOL).  I immediately knew I wanted to make some bold rainbow stripes, although I didn't immediately realize why (more on that later).

I drew some lines on my card base and colored them in with markers.  I then did some simple stitching using a brick stitch to fill in the lines.  This stitch is really simple... it is an easy backstitch for the first row.  For the second, you simply make your holes offset from the holes in the previous row (so that your stitches fall in the middle of the previous row's stitches).  So easy!


All that was left to do was die cut my sentiment using the Rainbow Thank You Die.  It was when I put the card together that I realized why I just had to do a bold rainbow.  This card looks exactly like my FAVORITE rainbow suspenders from my childhood.  I swear I must have worn those suspenders every day for a year.  I used to put fun buttons on them, and this thank you die looks exactly like something I would have pinned to those suspenders.  This card brings me back to those suspenders (I wish I still had them!) and makes me smile.


The second card also features some simple stitching.  This die comes with multiple options for borders, making it so easy to achieve different looks.  For this card, I adhered every other small ring to my card base.  I colored my sentiment letters with a rainbow palette of Copic markers and then added some really easy backstitching around the border of the rings.


I love the texture the stitching adds to this super fun sentiment.  Don't you love it when a die is so fun that it can stand on its own?


I hope you enjoyed these projects!  A link to the Rainbow Thank You Die is below.  I will be back with some more projects I made using products included in the new release.  Thanks so much for stopping by and I'll se you soon!


Custom Post Signature

Custom Post Signature