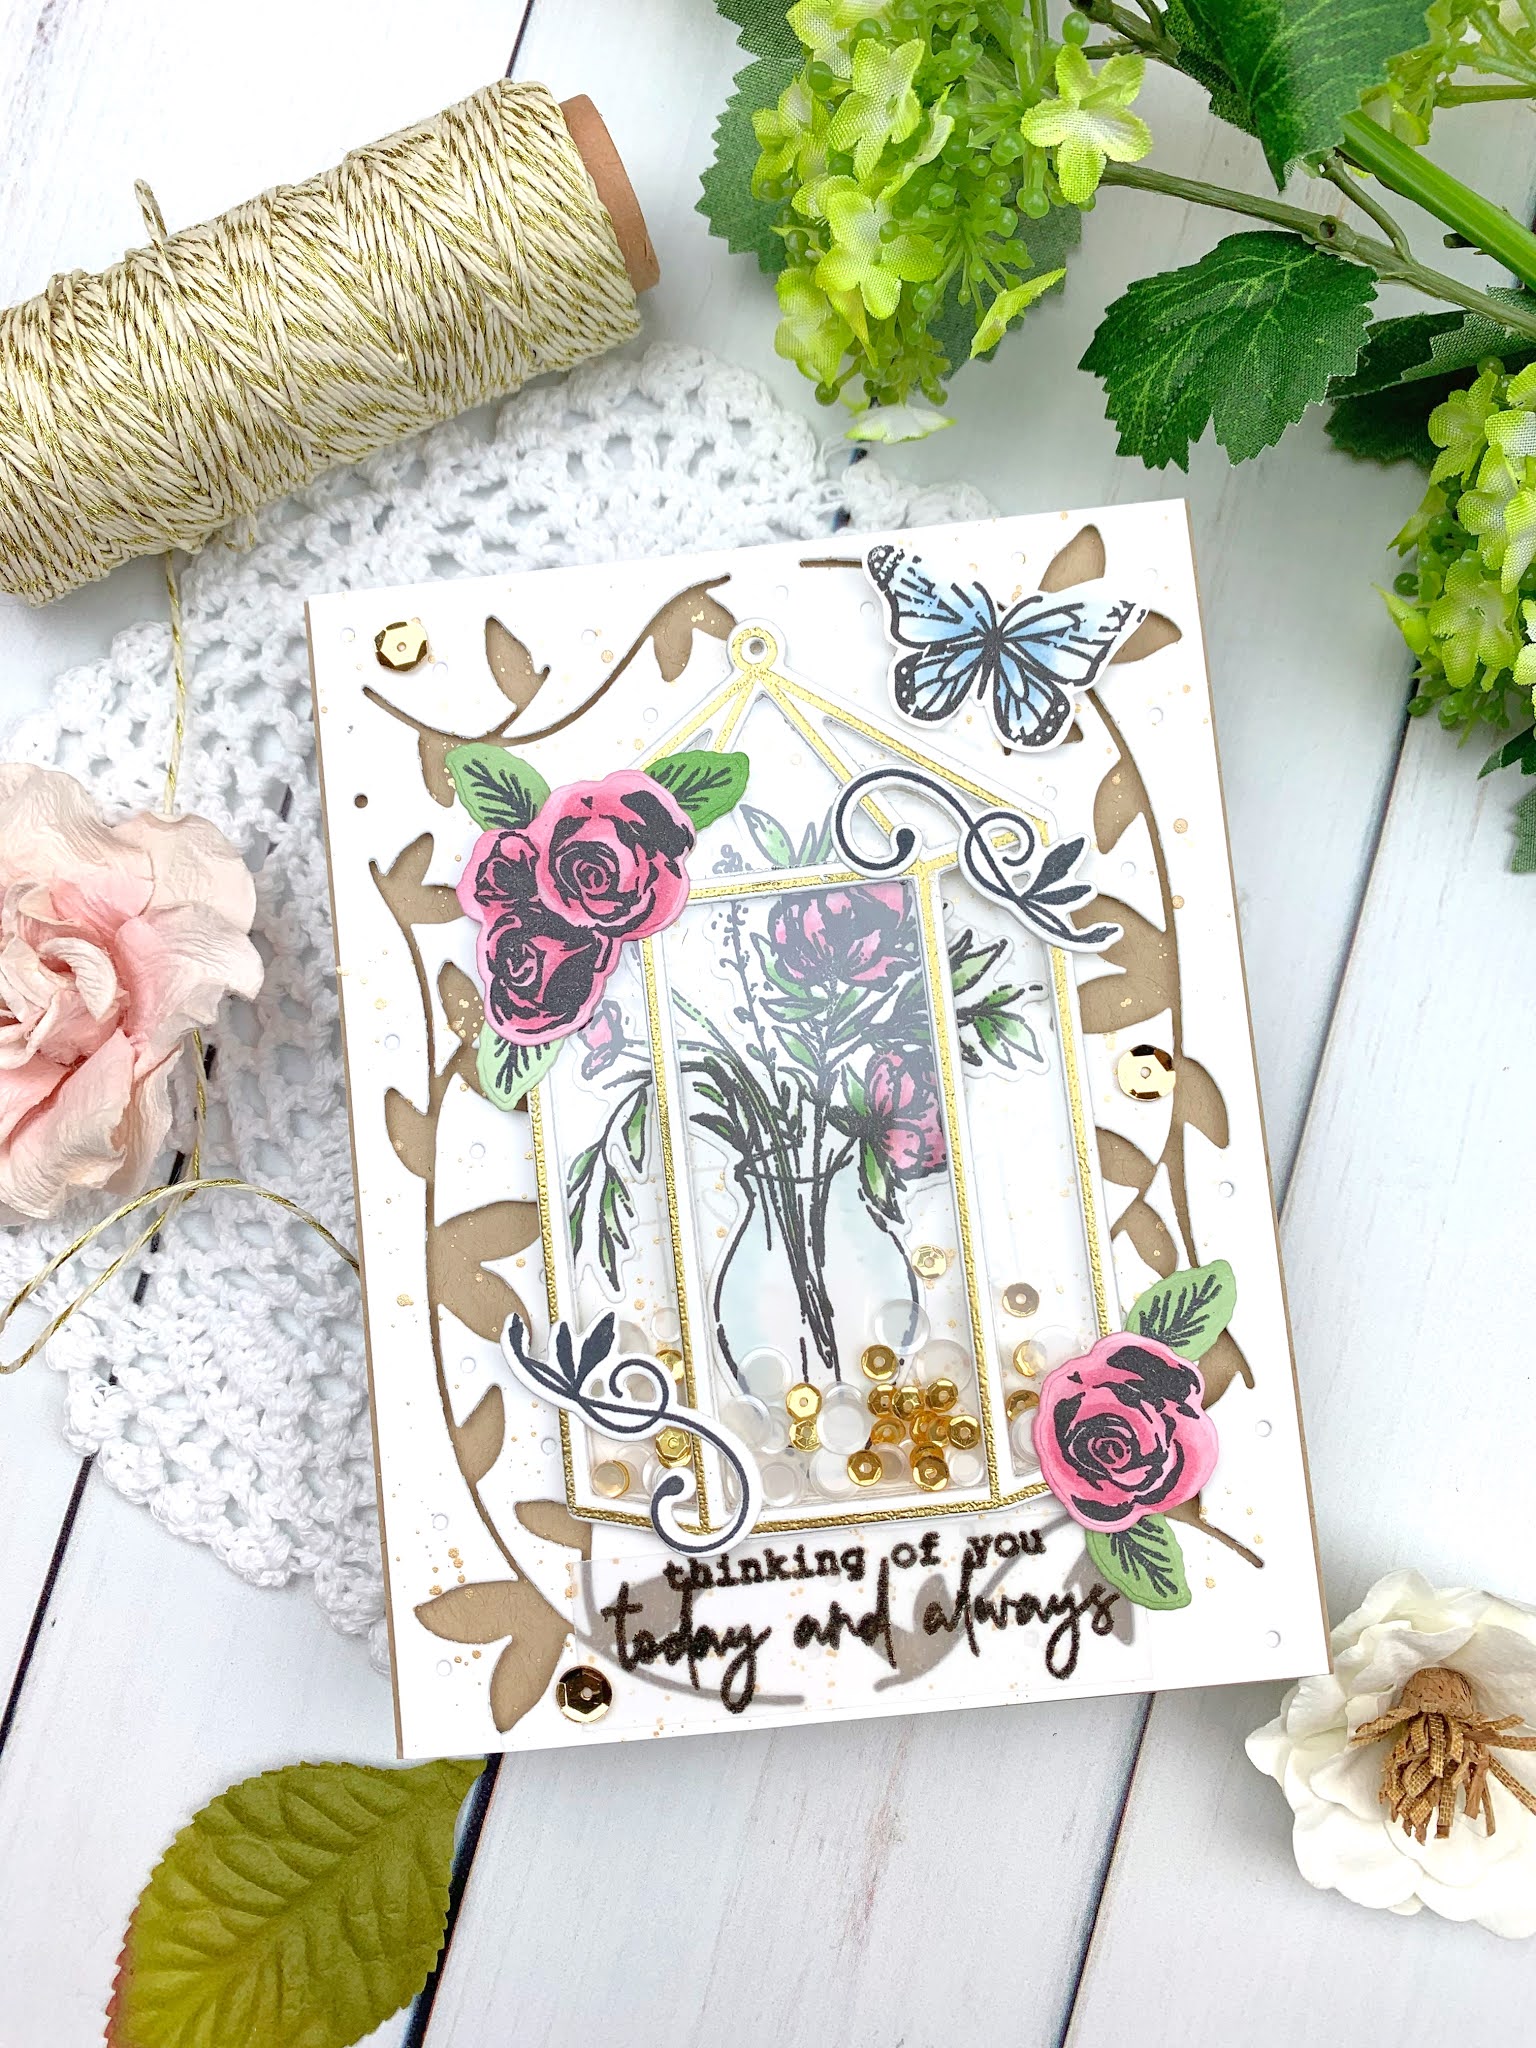
Hello! Welcome back for day 3 of Ink to Paper's January Release countdown! My two projects today features the new Vintage Flair and Vintage Flair Print stamps and dies. These products are gorgeous and lend themselves to such different card designs. I made one vintage-inspired card and one super modern card, and I'll walk you through the process of both!
For my first card, I started by die cutting a white panel with the Border Bling: Grateful Vines die, stamping the pretty images from the Vintage Flair Print onto the center (masking off the edges), popping it up with foam tape, and adhering it a Classic Kraft cardstock panel. I then die cut the pretty terrarium from the Vintage Flair die set 4 times. I stamped the coordinating image and embossed it in gold for my top layer. After adhering a sheet of acetate behind the first layer, I stacked the remaining 3 layers underneath, adhering them together with liquid adhesive.
I then stamped my floral and accent images from the Vintage Flair stamps in black onto white cardstock and die cut them with the coordinating dies. I added some quick sketchy Copic marker coloring to the flowers and butterfly.
I sprinkled some white confetti and gold sequins onto my center panel before adhering the terrarium on top, making a shaker element. I then adhered my florals and flourishes around my card, finishing everything with a few gold sequins.
For my second project, I decided to take a more modern approach. I stamped and die cut a gold terrarium using the same process as above. I then die cut a white panel using the Cover Plate: Trellis die, die cut out the terrarium image, and adhered it onto a white cardstock base with liquid adhesive. I then used the Tag Creations: Blooming Indulgence dies to die cut a bunch of pretty florals and foliage, using Copic markers to add color. All there was left to do was arrange these pieces around the terrarium. I stamped a simple sentiment from the Brighter Days stamp set and sprinkled a few sparkly gold sequins to finish my card.
I hope you enjoyed these projects! Links to the products I used are above. I'll be back with another project using new products from Ink to Paper - see you soon!


Be First to Post Comment !
Post a Comment