Monday, December 23, 2019

Watercolor Floral Card with Scrapbook.com's Water Brushes


Hello and happy almost Christmas!  I'm so excited to be here today to share a project I made with Scrapbook.com's rounded tip water brushes.  When Scrapbook.com asked if I would like to try these brushes I jumped at the opportunity... I can never pass up the opportunity to try new art supplies!

I was thrilled to find that these brushes did NOT disappoint, and I actually found that I enjoyed watercoloring with them even more than using traditional paint brushes.  The set comes with three different sizes (fine, medium, and large tips), and each has a generous reservoir for water.  What I loved about using these brushes was that I could choose between squeezing the brush to release water into the brush, or I could dip the brush into a jar of water like I would with a regular paintbrush.  I alternated between these two techniques as I painted my project, squeezing the brush when I simply needed to add more moisture to the brush tip (and when I wanted to clean the brush, when I would squeeze the barrel and wipe the brush off onto a paper towel), and dipping the brush into a jar of water when I wanted precise control of the amount of water on my brush.


To create this project, I stamped my images from Altenew's Flower Garden stamp set onto watercolor paper.  I then used Altenew's Watercolor Pan set to watercolor my images.  Mixing the colors onto the palette, I started by painting a light wash of color all over the image.  I then layered deeper and darker colors on top in layers, concentrating my darkest shades where the shadows would be.  This process was so relaxing, and the brushes gave me amazing control over achieving the effects I was looking for.


I then cut out my images.  Because I wanted to avoid a white edge around my images, I ended up fussy cutting them with a pair of scissors right up to the stamp lines.  I decided on a dark gray cardstock panel and splattered it with some white gouache paint.  All there was left to do was arrange my florals into a pretty bouquet.  I die cut my "friend" sentiment from Carta Bella's Happy Day Words die set and my sentiment strip from Altenew's Needlework Motifs stamp set.  A few sparkly sequins and some quick french knots and this card was finished!


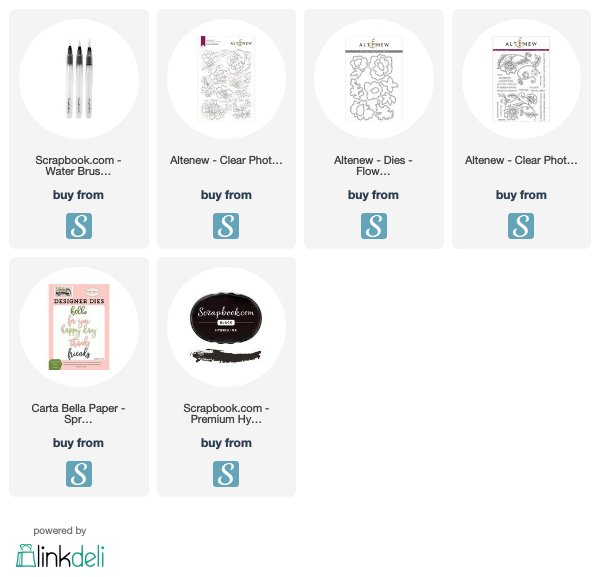
I truly loved working with these water brushes - I even ordered a backup set in case any of them go missing!  Links to the products I used are below.  I participate in the Scrapbook.com affiliate program, which means that I receive a small commission at no additional cost to you when products are purchased through the links I share.  I truly appreciate your support!

I hope you enjoyed this project!  I am so happy you stopped by today, and I'll see you again soon!

Sunday, December 15, 2019

Adding Colored Pencil Accents to Stamped Images: The Greetery's Pine Blossom Stamp Set


It probably comes as no surprise that if I had to choose one medium with which to make a card, it would be thread.  I cannot get enough of stitching on paper!  But more and more, I find myself drawn (no pun intended) to creating with colored pencils.  I absolutely LOVE coloring with pencils!  They give such soft, lovely results, and I love the control I can achieve with blending and shading.  I recently purchased the gorgeous Pine Blossom stamp set from The Greetery, and I knew the images were perfect for practicing my colored pencil skills.

I started this card by stamping my images in a simple base layer of ink.  I then added layers of colored pencils (using my favorite Faber Castell Polychromos pencils), starting (very) lightly by adding a base color over the image I was coloring.  I then added shadows with my darkest color so I knew where those deep areas would be.  I then went back to a midtone, blending between the lighter base color and deeper shadow shades.  All of this was done in light layers at first so I could make sure I liked where the highlights and shadows were placed.  Once I was happy with the initial layers, I started blending with a little more force to add more saturated color to the image.  This process was so relaxing and meditative!  And the results are just stunning (and easy to achieve)!  The image below shows what I started with and what the end result was after adding colored pencil.


Once I was done coloring all of my elements, assembling the card was easy.  I embossed a white panel with a knit texture embossing folder.  I added an aqua stitched rectangle in the center onto which I had stamped my sentiment and arranged the blooms around the edge.


A few sequins and this card was finished.  I am in love with these gorgeous florals... and I can't wait to keep experimenting with colored pencils on stamped images!


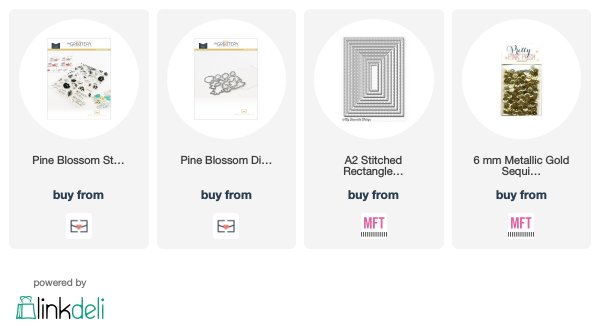
Links to the products I used are below.  I participate in the My Favorite Things affiliate program, which means that I receive a small commission at no cost to you when products I share through the links I provide.  I truly appreciate your support!

I hope you enjoyed this project!  Thanks so much for stopping by and I'll see you soon!


Friday, December 13, 2019

Stitching Your Die Cuts: Simon Says Stamp Stitched Rainbow Heart Cards


Hello, everyone!  I am so happy to be here today with some new projects from Simon Says Stamp's Love You More release.  This release is part of Diecember... one of my favorite crafty celebrations of the year.  I cannot underestimate how much I love this die.  Like, I really REALLY love it.  Creating these projects was so much fun!

If you are familiar with my projects, it probably comes as no surprise that my first inclination was to stitch this die up.  And stitching it was easy and so much fun.  To achieved a stitched look, I did the following:

1.  I first die cut the heart and used the negative space to adhere the top and bottom portions to a cardstock base.  I then used the rays as stencils to pencil in the edges.


2.  I then used markers to color in the rays (this is not absolutely necessary, but it helps in case there are any gaps in your stitching so you don't have white space showing through your stitches).  Starting at the top, I then poked holes along the edge and stitched using a simple backstitch.


3.  Once the first row is finished, I poked the holes for the second row by offsetting them between the stitches in the first row.  You're basically going to poke your holes right below the first row of stitches, and right in the middle of the stitch right above as shown below.


Keep going until you're finished!


Once the stitched heat is finished, all there is left to do is assemble your card.  I chose an aqua blue base, added some stitching around the edge, and added some stitched clouds from My Favorite Things to embellish my card.  A big scripty xoxo sentiment from Lawn Fawn was a perfect fit for the main sentiment, and I stamped mini sentiments from Simon's Tabbed Sentiments around the card.  Some assorted 4 mm sequins from Pretty Pink Posh finished everything up.


My daughter saw this card, immediately said she wanted to give it to a friend, and absconded with it. So all there was left to do was make another!  LOL

For my second card, I stitched the heart in exactly the same way and added the same clouds from MFT.  I used a big scripty thanks die from Lawn Fawn, and stamped mini sentiments from Simon's Thank You Flowers and Big Thanks Words stamp sets onto the card base.  I added a scalloped stitch border from Lawn Fawn (adding stitching around the edges to coordinate with the heart) and some more sparkly sequins from Pretty Pink Posh.


To say that I loved making these projects would be a great understatement.  I am planning on making some personalized notecard sets for some teachers for end of the year gifts, and stitched heart cards will be front and center!


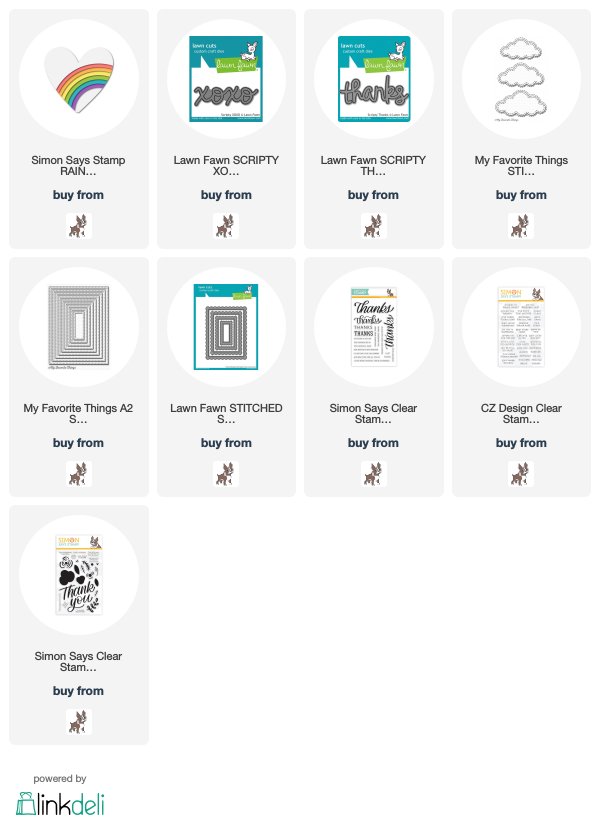
I hope you enjoyed these projects!  If you try stitching your dies, I would love to see what you make... make sure to tag me on Instagram so I can see your creations!  Links to the products I used are below.  Thank you so much for stopping by, and enjoy the rest of your day!


Sunday, December 1, 2019

Simon Says Stamp Diecember 2019: Stitched Card with Art Supplies Die


Happy December, everyone!  I am so happy to be here today sharing a stitched card I made using the new Art Supplies die.  This die is so fun and perfect for creating cards for the crafty folks in your life!

This card came together so easily thanks to the star of the show: the super cute paint palette die!  I die cut several of the little palettes and stacked them together to create dimension.  I colored the different wells with Copic markers and added clear Tonic Crystal Glaze for some fun texture.

I created a rainbow using My Favorite Things' Rainbow Bright die as a stencil.  I colored in the sections with Copic markers and stitched the borders with coordinating thread (tip: if you don't have the right color thread, color some white thread with a Copic marker!)

Once my rainbow was complete, I simply die cut the little scissors and paint brush and added them to my card.  I created the sentiment with a "Create" die from Catherine Pooler and the Happy Mail stamp set from Mama Elephant.  I can't wait to send this to a crafty friend!


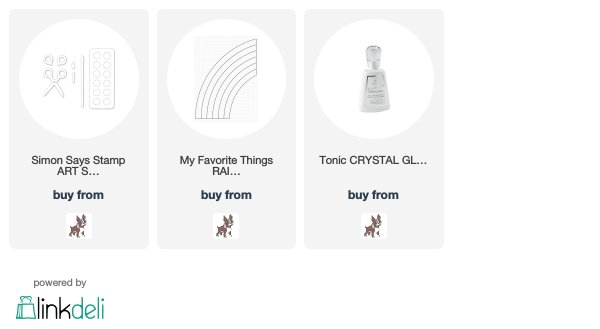
I hope you enjoyed this project!  Links to the products I used are below.  I'll be back soon with some new card projects.  Thanks so much for stopping by and have a wonderful day!


Custom Post Signature

Custom Post Signature