Saturday, November 14, 2020

Stitched Card and Tag Featuring Ink to Paper's In Stitches: Candy Swirl Dies


Hello!  Thanks so much for stopping by today for these papercrafting projects featuring Ink to Paper's new In Stitches: Candy Swirl dies.  These projects were a breeze to make using these fun stitching dies! 


I die cut two candy pieces using the dies from white, Lovely Lady, and Pure Poppy cardstock and stitched them together using coordinating shades of embroidery floss (hint: the stitch holes are big, so I used all 6 strands of floss for these projects).  I also hand beaded some sparkly sequins to the candies.  These beautiful die cuts are the stars of the show, so it didn't take much embellishing to finish the projects.  For my card, I die cut some foliage from the Tree Essentials stamps and dies and the Corner It: Holly stamps and dies, adding stitching to the little holly leaves for added interest.  For my card, I created a lollipop stick from a thin stipe of cardstock and adhered it to an Aqua Mist panel I cut using the new Border Bling: Twinkle die (I had popped this panel onto a white card base using foam tape for some dimension).  I then adhered my foliage to the stick and added a red bow.  For my sentiment, I used the Joyous Holiday stamps, stamping it on vellum with Versafine ink and heat embossing it with clear embossing powder.  


My tag came together in the exact same way, except I added twine to the top.  I think this would also make such a cute Christmas ornament!  


Thanks so much for stopping by today to look at these projects!  They were such fun to make.  I hope you've enjoyed the design team's projects with the new November products, and I can't wait to see what you make!  


Gouache Floral Shaker Card Featuring Ink to Paper's Abundant Blooms and Inside Greetings: Feel Better Stamp sets


Hello!  Thanks so much for stopping by today for this gouache floral shaker card highlighting Ink to Paper's new Abundant Blooms and Just Sentiments: Get Well stamps.  This card was so much fun to make and I'm excited to share the process with you! 


I started my card by selecting a panel of Sweet Blush cardstock cut to 4 x 5.25 inches.  I stamped stems onto the cardstock and heat embossed them with green embossing powder.  I then stamped my blooms from the Abundant Blooms to the panel using light-colored ink.  I then mixed some shades of dusty rose and earthy yellow gouache to pain over the blooms.  The abstract nature of these flowers made this so easy... I think I was done in about 10 minutes!  I then chose some flowers from the Birthday Bouquet stamp set, stamped them onto Sweet Blush cardstock, and again painted them with gouache.  I die cut the florals and popped them up onto the bouquet with foam tape. 


I then stamped the vase from the Clearly in the Vase Mini Stamp Set, selectively stamping it to make it a bit shorter.  I then fussy cut my shortened vase out, cut out the center and adhered a piece of acetate to the back.  I used thin strips of foam tape to pop it up, adding clear sequins into the middle for a sparkly shaker effect.  After that, all that was left to do was stamp my sentiment from the Inside Greetings: Feel Better stamp set onto some Pale Peony cardstock and adhere it to my frame. 


I love this sweet card and I hope you enjoyed it, too!  Links to the products I used are above.  Thanks so much for stopping by today and I'll see you again soon with another Ink to Paper card project!  


Friday, November 13, 2020

Vellum Shaker Card Featuring Ink to Paper's Feathered Friends 6 Mini Stamps and Just Sentiments: Together Stamps


Hi, friends!  Thanks for stopping by today for this vellum shaker card using Ink to Paper's new Feathered Friends 6 Mini and Just Sentiments: Together stamps.  This card was so much fun to make! 


I started my card by die cutting a circle onto the center of a Sweet Blush cardstock panel.  I then stamped my sentiment from the Just Sentiments: Together stamp set onto a piece of vellum that I die cut using the Love to Layer: Scalloped Circles dies, heat embossing it in white.  I then adhered it to the top of the die cut circle. 


I then stamped my bird using the Feathered Friends 6 Mini stamp set and die cut it with coordinating dies.  Then came the foliage: I used the Framing Fall Sentiments, Floral Christmas, and Tree Essentials stamps to create my foliage, adhering it around the perimeter of my scalloped circle.  I splattered the entire card with white paint before adhering my bird to the card. 


I then added some Buffalo snow to the interior of the card before adding a backing panel popped up with foam tape.  My photographs didn't allow for the snow to show, but it's such a fun effect in real life! 


I had a blast making this card and I hope you enjoyed it as well!  Links to the products I used are above.  I'll see you again soon with another Ink to Paper project! 


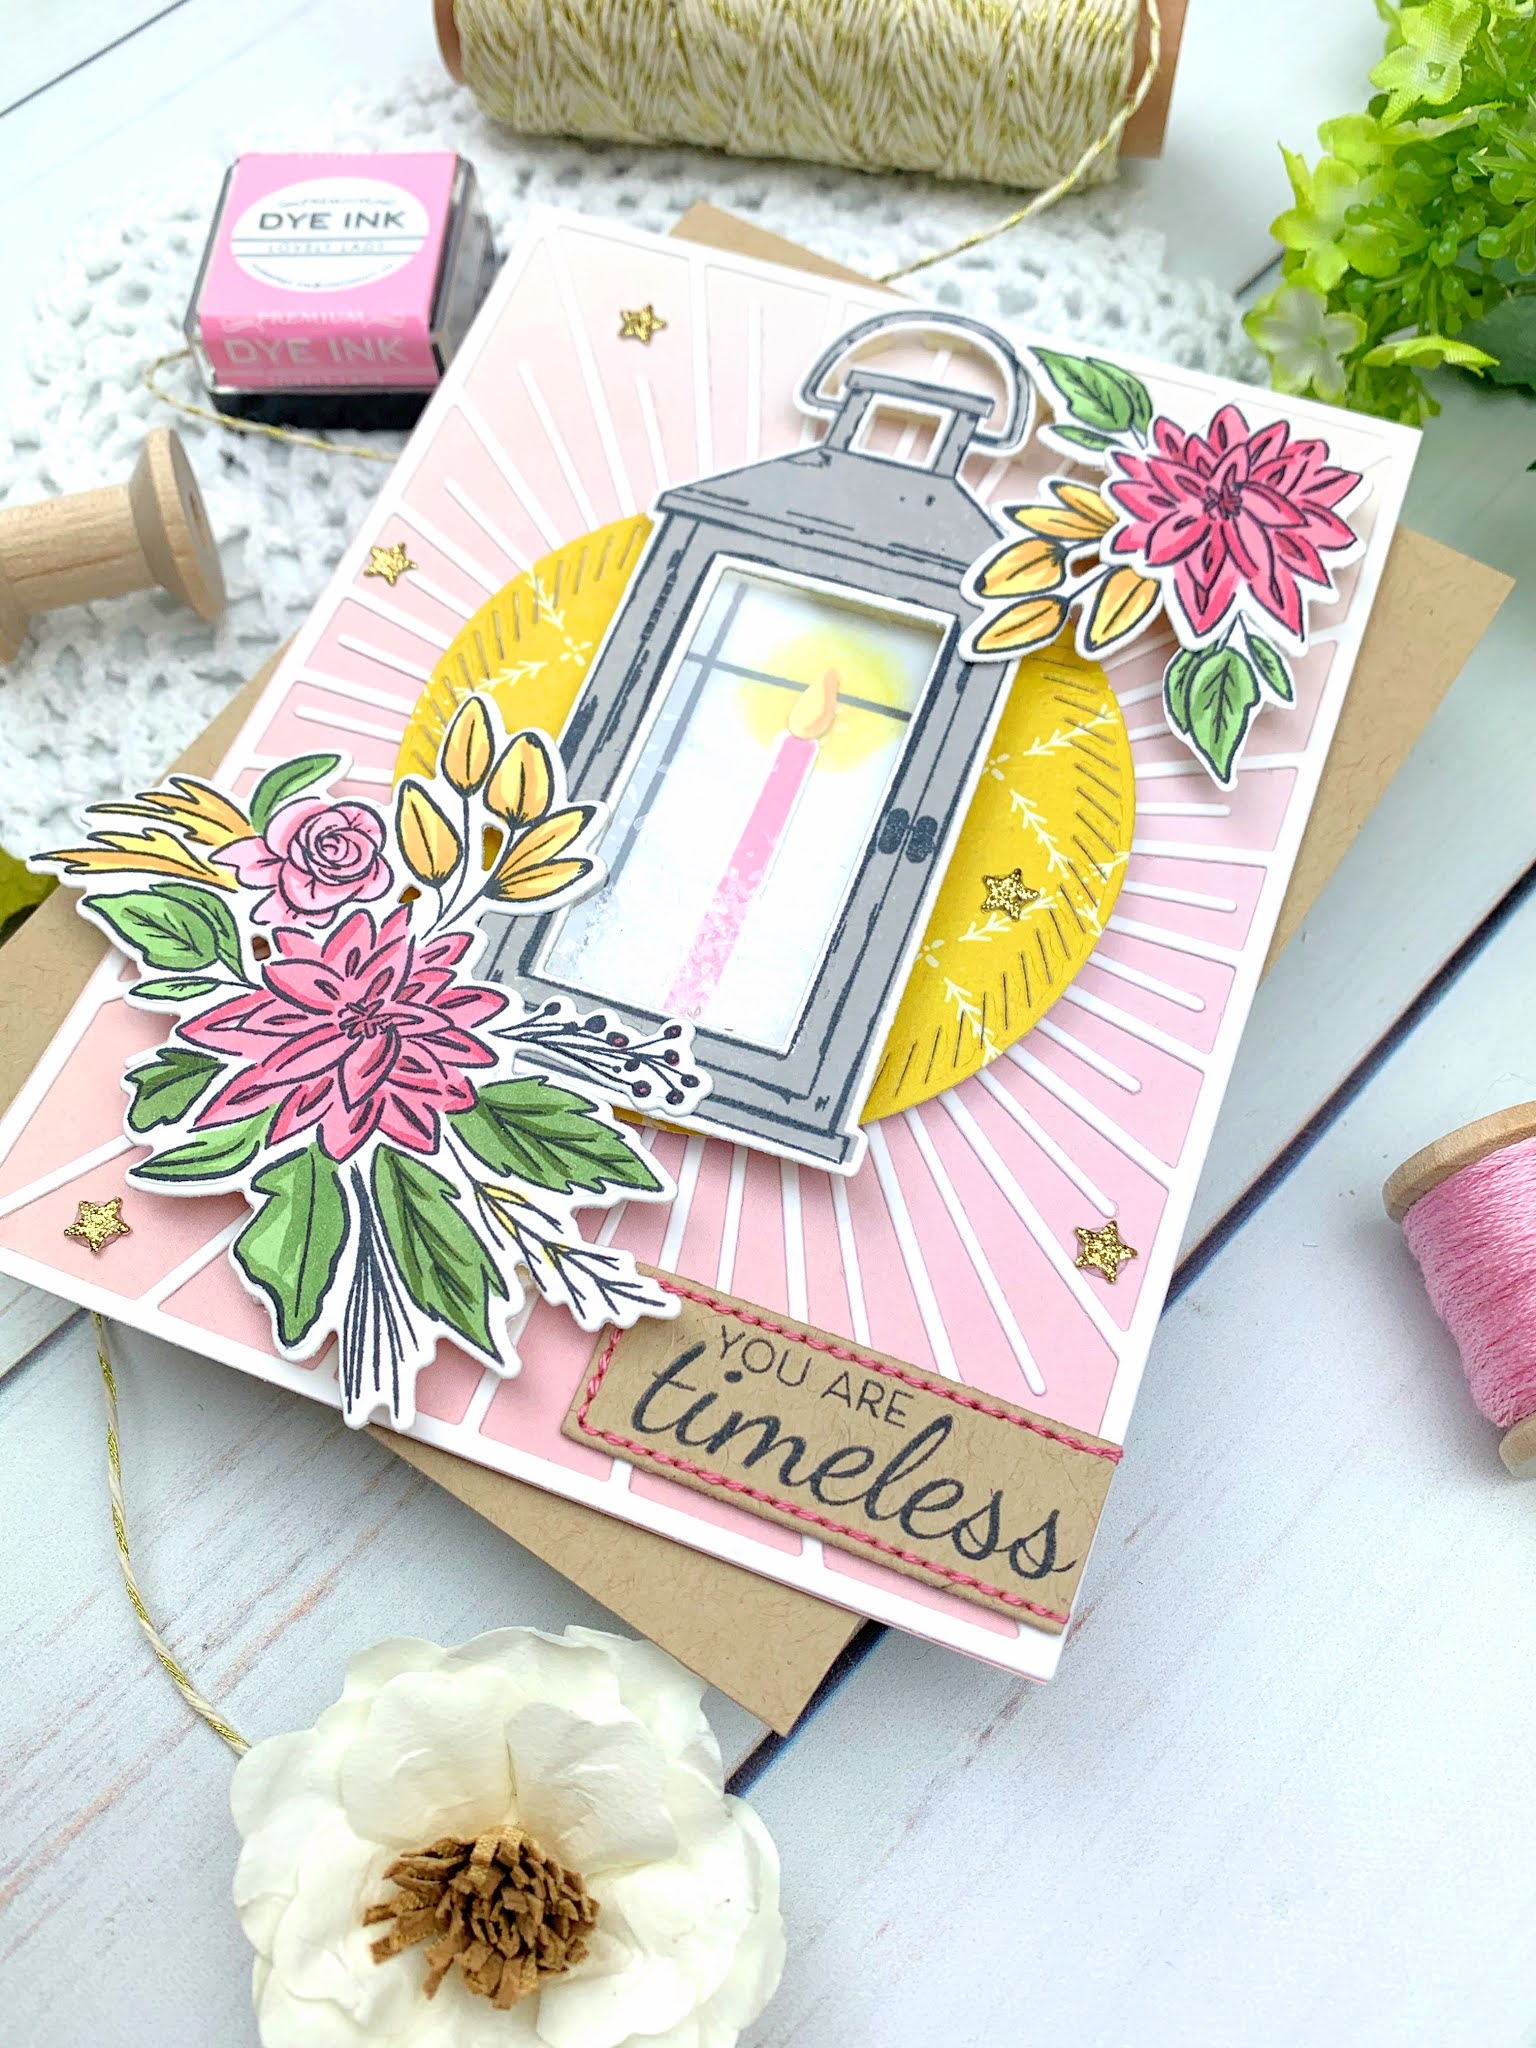
Die Cut Shaker Card Featuring Ink to Paper's Vintage Lantern Stamps and Border Bling: Twinkle Dies


Hello, friends!  Thank you for stopping by today for this die cut shaker card featuring Ink to Paper's new Vintage Lantern stamps and dies and Border Bling: Twinkle dies.  I am absolutely in love with the Vintage Lantern stamp and die set and I'm so excited to show you how this card came together. 


I started my card by stamping my lantern on white cardstock using gray and black inks.  I die cut the center using the coordinating dies and adhered a piece of acetate in the window.  I created some snow using buffalo snow and clear glitter and sprinkled it onto the window.  After stamping the candle and backing piece for the lantern, I assembled it using two layers of foam tape to give room for the snow to shake around.  I then stamped my floral images onto white cardstock, colored them with Copic markers, and die cut them with the coordinating dies. 


To assemble the card, I die cut the On the Border: Sunburst Frame die from white cardstock and adhered it to a base with a pink gradient.  I then cut a patterned paper circle using the Love to Layer: Scalloped Circle dies and popped it up in the middle of the Sunburst die cut using foam tape.  I then adhered my lantern on top and arranged my florals in the corners.  I used the new Border Bling: Twinkle die to cut some stars from gold glitter cardstock and scattered them around my frame.  I then stamped my sentiment on Classic Kraft cardstock, die cut it with the Banner Builders: Basics dies, and added some pink stitching for added interest. 


I absolutely adore this new Vintage Lantern stamp and I hope you do, too!  Links to the products I used are above.  Thanks for stopping by and I'll see you again soon with another new Ink to Paper project! 


Custom Post Signature

Custom Post Signature