Tuesday, May 1, 2018

Get Well Soon Cards


Hello!  Unfortunately, in the past week several people in my life have fallen ill or sustained injuries.  As I was looking through my card stash, I realized that I didn’t have any get well cards.  I remembered seeing a beautiful card on Yoonsun Hur’s Instagram page where she had created some floral Band Aids, and from this I took inspiration to create the cards here today.  For each card, I die cut and stamped each Band Aid twice using My Favorite Things’s Band Aid die and Hero Arts’s You’re Beautiful stamps (definitely check out this set… gorgeous floral images coupled with awesome sentiments.  I will be using this one A LOT).   I colored in the images using bright and colorful Copic markers.  I then cut out the square center out of each Band Aid and popped it up using foam tape on top of the duplicate Band Aid to give some dimension.  


I played around with a clean and simple design by putting the Band Aids on a white panel, but it was just too plain and the Band Aids looked lost.  I tried out Jennifer McGuire’s fill-in stamping technique using Simon Says Stamp’s Fog ink, which gave a perfect background.  This Hero Arts set was perfect for this technique… lots of small images gave great impact.  


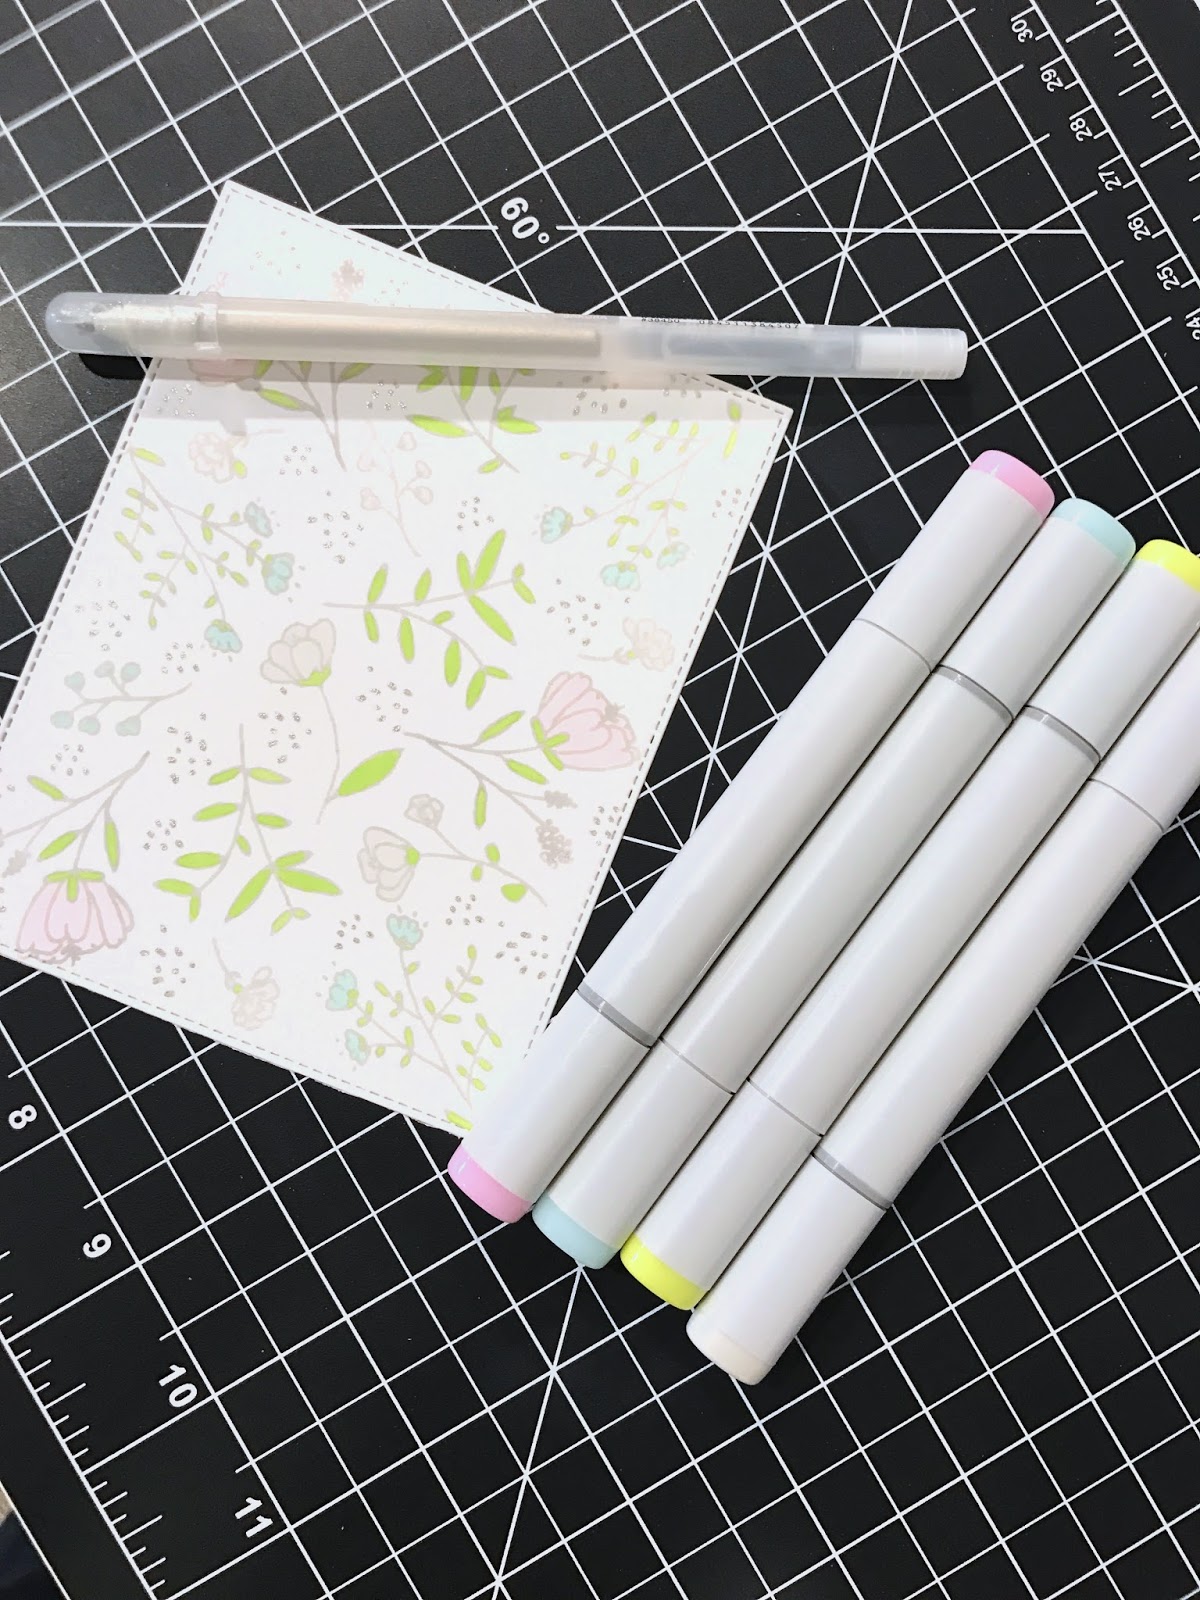
But not content to leave well-enough alone, I decided to try coloring in the background using really soft Copic markers.  Happy with this, I popped the Band Aids up with more foam tape.  I added Pretty Pink Posh sequins and Honeybee Stamp’s tiny leaves (LOVE these!) to add a little sparkle.  I also went over the little dot images with a glitter Gelly Roll pen.  


Some hand stitching with metallic black thread around the panel and the card was done!  


This card came together quickly, so I decided to make another.  This time, I stamped the background a little darker and didn’t color in the images.  I can’t decide which card I like better… I'd love to hear what you think!  


Wednesday, April 18, 2018

Stitching Your Stamps: Neat and Tangled Friendly Florals


Happy Wednesday, everyone!  For a long time now, I have wanted to stitch up a stamp set to make it look like it was embroidered directly on the paper, but I didn’t have the “just right” set to make it work.  Most of my sets were too elaborate to stitch on cardstock.  Cardstock poses some limitations that you don’t encounter when embroidering on fabric… you can’t poke your holes too close together on cardstock or you risk tearing it.  This means that stamps that are too elaborate won’t make for successful stitching on cardstock… small shapes and curves generally require more holes spaced closer together.  

When I saw this Neat and Tangled Friendly Florals set, I knew I had found a “just right” stamp set for this technique.  It is pretty but not overly elaborate, which made it perfect for stitching.  To make the card, I stamped the image in Simon Says Stamp Fog ink and colored it with Copic markers and Prismacolor pencils.  

After coloring, I used coordinating thread to stitch the edges of the images.  I poked holes around the perimeter, avoiding images that were too small (again, requiring holes that are too close together, which end up ripping the cardstock).  Then I used a simple backstitch to stitch around the borders.  


I combined Simon Says Stamp’s “Hey Love” and “You Make My Heart Smile” sentiment dies to make the sentiment (and before adhering it, I did some very subtle light blue ink blending on the center of the card).  I finished the card from tangerine gems from Lucy’s Cards and sparkling clear sequins from Pretty Pink Posh.  


Some tips on stitching your stamps: 

  • Choose images that have simple lines and shapes.  Poke your holes closer together on curves or in tighter areas. 
  • Use 6-strand embroidery floss and determine how many strands are appropriate for your image.  Here, I used 2 or 3 strands depending on the shape I was stitching.  
  • Choose your thread colors before coloring your images.  Generally speaking, thread color choices are more limited than markers, paints, or other coloring mediums.  


I hope you enjoyed this card and tips for stitching your stamps.  I hope give this technique a try - I would love to see what you create!  
Thursday, April 12, 2018

Simon Says Stamp Fluttering By Release!

Yesterday was another amazing release day at Simon Says Stamp… I want SO many of the new Fluttering By products!  I was thrilled to be able to have a play with their new Twinkle Flower Circle die… it gave me the perfect excuse to make a cross-stitched panel, which I hadn’t done in quite a while.  After running the panel through with my favorite Paper Smooches cross stitch die, I cut out a circle that would serve as the shaker window.  I chose some pretty spring colors of DMC floss and stitched up a plaid pattern. 


I then mounted the stitched panel on a backer piece of cardstock and filled the window with some gorgeous flower sequins from Honeybee Stamps and sequins from Pretty Pink Posh.  After covering the circle with a piece of acetate, I used the Twinkle Flower die to top it off and finish the edges.  


I added the “Love” sentiment from Simon’s “Hey Love” die and a “hello” sentiment from Concord and 9th.  All done!  I LOVE this card and the colors… I’m currently working on a different version and will post it up when it is all finished. 


Now I am off to ogle over all of the pretty new products from this release… that Heart Mandala die!  Swoon!   
Wednesday, April 4, 2018

Stamping With Gouache


Happy Wednesday!  So… spring is a no-show.  I think this dreary, gray weather we’re having is inspiring me to create cards that scream with color like this one.  I had so much fun making this card from Lil’ Inker Designs Sweet and Lovely stamp set.  This is one of those sets that make you feel like an artist when you really have very little artistic ability like me.  😬  Instead of coloring this stamp with ink pads, I decided to paint it with gouache, a medium that I’ve been long-intrigued by.  I purchased an inexpensive set of gouache paints from Amazon and got to work.  

I first stamped the image with some Distress Ink in Antique Linen.  


Then I got to painting.  This was so fun.  Gouache gives gorgeous opaque coverage, but you can also thin it out so it acts like watercolor.  All I did was paint in the lines!  


I added some hand doodles, some cute accents from the stamp set, and some tiny die cuts from the Blooming Circle die from Simon Says Stamp.  Some Nuvo Drops and Pretty Pink Posh sparkling clear sequins and I called it quits before I filled every square inch of the space.  I was having too much fun.  😂  


If you try gouache on your cards, I’d love to hear how it goes!  I can’t wait to do some more experimenting!  🎨  

Custom Post Signature

Custom Post Signature