Thursday, October 24, 2019

Pinkfresh Monthly Challenge: Stitched Circle Elements Card


Hello!  I am back today with a card I made for the Pinkfresh Studios October monthly challenge.  I love participating in Pinkfresh's challenges... the prompts are always so fun and really do challenge me to change things up!

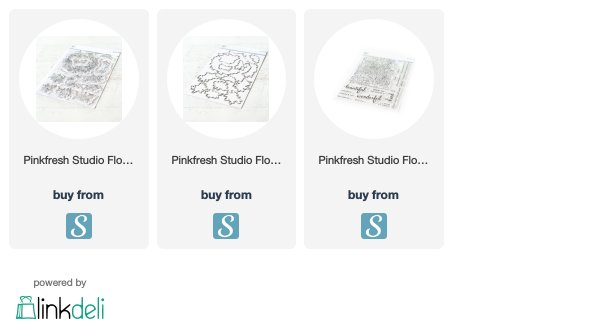
This month's challenge is to use circle elements in a card or scrapbook design.  I decided to use Pinkfresh's Floral Elements stamp set to create this circular-based card.  I stamped out my images in light ink on Neenah Solar White 110# paper and colored them in with Polychromos colored pencils in pretty shades of pink, peach and yellow.


I then cut out three circles on a white card base embossed in a knit pattern.  I splattered some gold watercolor paint onto the panel for some interest and arranged my florals around the three circles.  I also added some yellow stitching around the perimeter of the circles for a little added texture.

I die cut three circles out of pink and peach cardstock and stamped my sentiment in each using Pinkfresh's Flower Garden stamp set, heat embossing them in white.  I stitched over the "beautiful" with white thread.

I popped up the background panel with some craft foam and layered it over my sentiment circles.  I added some gold sequins for a little added sparkle, and this card was finished!  I love the circle elements on this card... this was a layout I hadn't used before, and I always love mixing it up!


I hope you enjoyed this project!  Links to the products I used are below.  I participate in the Scrapbook.com affiliate program, which means that I receive a small commission at no cost to you when products are purchased through the links I share.  I truly appreciate your support!

I encourage everyone to participate in monthly challenges to stay inspired and challenge yourself to try new techniques.  You can check out Pinkfresh's monthly challenges here.  Thanks so much for stopping by and I'll see you soon!

Tuesday, October 22, 2019

Enhancing Simple Die Cuts with Coloring: Spellbinders Die Club Kits Florals


Hello, everyone!  I am so happy you stopped by today because this card has my heart.  I had no plans to make this...  it was the result of having die cut too many pieces for some other cards and not having the heart to throw them out.  One cold, rainy night, some plain die cuts and some markers, and this card was born!  

I like die cutting florals out of white cardstock because I find it tedious to pull out lots of different colors (mostly because I don't like cleaning up lots of supplies, but that is a story for a different day). After making some floral cards with some past club kits from Spellbinders, I found myself looking at a pile of small white florals and foliage with no idea of what I wanted to do with them.  I pulled out my Copic markers and started coloring them in pretty shades of red, pink, and aqua, layering the flowers to create interest and dimension.  But the real fun came when I started to accent the flowers with a white paint pen and some fine liners.  I was amazed at how little dots could really add a touch of both realism and whimsy to these little blooms.  I had so much fun that I kept going, coloring and dotting until I had a pretty pile of botanical die cuts.  


Now, what to do with them?  I started lying them on top of different cardstock and was so happy with the way a dark charcoal gray really allowed the die cuts to shine.  I splashed the card base with some white gouache, die cut a little circular frame, and added my "hello friend" sentiment.  Then I started arranging.  Not wanting to waste any of my blooms, I created bunches of flowers until I was happy with their placement.  I secured them together using some Press and Seal and glued them together on the back so I wouldn't have to fiddle too much with glueing the individual pieces down.  


There's not much stitching on this card... just some simple hand-stitched sequins here and there.  I felt that the florals really deserved to steal the show here. 


I love it when a card comes together organically, with no plan or intention.  I rarely make cards this way (I am usually a girl with a plan, which may or may not come to fruition), but when I do, I am usually so pleased with the results.  This card just makes my heart happy.  


Links to the products I used are below.  I participate in the Spellbinders affiliate program, which means that I receive a small commission at no cost to you when products are purchased through the links I share  I truly appreciate your support!  

I hope you enjoyed this project and are inspired to create some colored die cuts of your own.  I would love to see them... be sure to tag me at @leighhouston11 on Instagram if you give this a try!  Thanks so much for stopping by and I'll see you soon!  

Saturday, October 19, 2019

Interactive Gift Card: Spellbinders For You Gift Card Holder


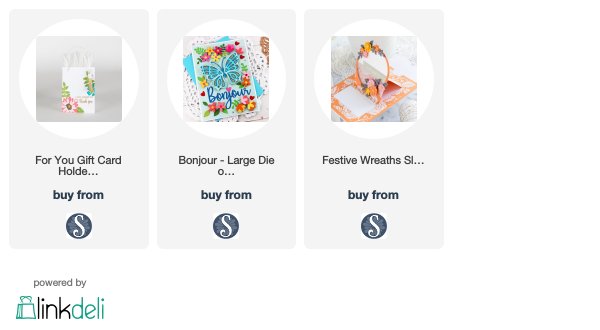
Happy Saturday!  I am so excited to be back today with another card from Spellbinders.  This is another interactive card made with the Spellbinders For You Gift Card Holder.  A card AND gift card holder in one... don't you love it when the card is also the gift?  

This card came together SO easily with this gift card holder die.  Honestly, the hardest part was picking out which patterned paper I wanted to use!  I die cut my gift card holder out and assembled it (there is a great video tutorial here).  I chose to mount the holder onto a card base).  

The embellishments were also super simple.  I used patterned vellum to create the "tissue" peeking out of the die.  I cut my "For You" sentiment out of gold mirror cardstock and used some florals from some of my other past club kits for some extra prettiness.  To finish the card, I added some gold ribbon to mimic the look of a gift bag.  

This is such a fun interactive card that could be created in so many different themes... just so fun!  


This kit and tons of other fantastic past club kits are all on sale now!  Links to the products I used are below.  I participate in the Spellbinders affiliate program, which means that I receive a small commission when products are purchased through the links I share.  I truly appreciate your support!  

I'll be back soon with another project I'm making using these amazing dies.  In the meantime, thanks so much for stopping by and have a wonderful day!  

Friday, October 18, 2019

Spellbinders Festive Wreaths Slider Card: Past Large Die Kit of the Month Promotion


Hello, everyone!  I am back today with one of the COOLEST cards I've made... ever.  I don't make many interactive cards.  I find them to be a little fussy and finicky, and if you don't get your measurements just right, things don't move the way they should.  I was thrilled that Spellbinders took all of this guesswork away making this set... not only is the slider function way cool, the embellishment dies are amazing!!!

I decided to make a floral wreath (shocker, right?) with my kit, and I am so in love with the results.  I started by die cutting my slider mechanism (there is a fantastic YouTube tutorial on how to assemble the super easy slider mechanism here).  I then die cut my wreath and the little floral embellishments.  This was so fun.  I die cut all of my little pieces from white cardstock and used Copic markers to color them in.  I then used a white paint pen to embellish all of the little flowers and leaves.  How fun are these?


I created a sentiment on my computer and stitched over the words... super easy.   All that was left to do was put everything together.  Following the tutorial, I assembled everything and tested it out.  Look at how cool this is!


Here's the great news... this Large Die of the Month kit is on sale right now for a steal!  A link to the kit is included below, as well as another prior kit of the month (also on sale!) with some extra florals I used.  You can find all of the other kits currently on sale here.

I participate in the Spellbinders affiliate program, which means that I receive a small commission at no cost to you when products are purchased through the links I share.  I truly appreciate your support!

I hope you enjoyed this project!  It is so much fun.  I'll be back soon with some more projects using these past club kits... just let me tell you, Spellbinders really knocks it out of the park with these!

Thanks so much for stopping by and I'll see you soon!


Wednesday, October 16, 2019

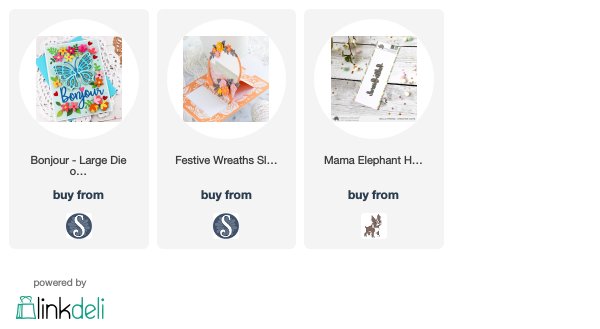
Stitched Butterfly Card With Spellbinders Bonjour Large Die of the Month Club


Hello, friends!  I have some exciting news... Spellbinders is running an amazing Past Club Kits promotion.  There are some AMAZING kits for sale right now up to 40% off!  I've had my eye on some of these sets and I can't wait to scoop some up.  In the meantime, I am so happy to be sharing a project I made with the Bonjour kit, which was the Large Die of the Month from February 2019.  This set is full of the most beautiful dies.  A gorgeous layered butterfly and tons of florals and foliage... how can you go wrong?

I wanted to create a painterly card made with gouache, so I die cut a bunch of the pretty flowers and foliage from white cardstock.  I then painted them in pretty peach, pink, and coral shades of gouache, adding little painted details here and there.  I painted the leaves and foliage in the same way using pretty early green hues.


I then moved onto my butterfly.  I die cut the base and outline butterfly shapes and layered them together.  I then used stitching to color in the different sections of the wing.  I used a brick stitch, which is a simple backstitch where the adjacent rows are offset from one another.  To finish the butterfly, I painted another outline layer with gray gouache to match the painterly look of the floral die cuts.


All that was left to do was assemble the card!  I splattered by watercolor cardstock background panel with some gouache and gold watercolor.  I then applied my florals in pretty clusters and adhered my butterfly in the middle.  The "Bonjour" sentiment was cut from gold cardstock and finished the card beautifully!

This card has so much gorgeous detail thanks to all the thought that Spellbinders puts into their dies.  It is always such a pleasure to see creations come together so beautifully when kits are put together so thoughtfully!


I hope you enjoyed this project!  A link to the Bonjour Club Kit is below.  Full promo details are as follows:

Save up to 40% off select past club kits www.spellbinderspaperarts.com.  Click Here to view eligible items. Club members must Log In to view club member discounts. Orders are processed in the order that they are received. If you purchase an item that is out of stock, the item(s) will be removed from your order and you will not be charged for that item(s). Offer is for individual consumer use only; not for distribution; excludes clearance items, tax, & shipping. Not valid on any previous web, phone or retail purchases; cannot be redeemed for cash; cannot be combined with any other offer; void where prohibited; limited to stock on hand. Offer only available 10-15-19 to 10-20-19 at 11:59 PST. 

I participate in the Spellbinders affiliate program, which means that I receive a small commission at no cost to you when products are purchased through the links I share.  I truly appreciate your support!

I have some more really fun Spellbinders projects to share with you, so I'll see you soon!  Thanks so much for stopping by!


Thursday, October 10, 2019

Gouache Holiday Card with My Favorite Things Peace on Earth and Brilliant Blooms Stamps


Hello again!  I am so happy to be back today with another card I made using MFT's October holiday release.  Upon seeing this card, my daughter said, "This is my favorite card you have ever made."  So this holds a special place in my heart!

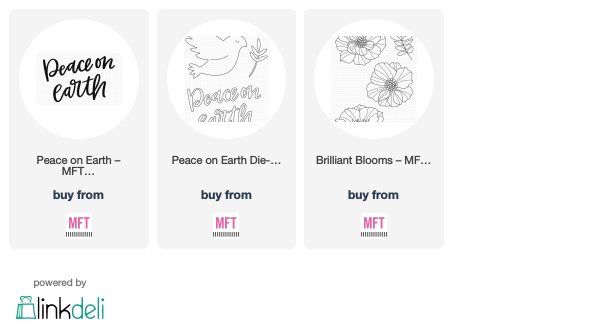
I am way into the non-traditional holiday cards this year, whether they are made with non-traditional colors or non-traditional imagery.  I decided to try to take MFT's Brilliant Blooms stamp set and see if I could give it a holiday twist.  I started by stamping my floral images onto blush-colored cardstock.  I then painted them in with white gouache... so simple!  No shading, mixing or blending needed for these graphic blooms.  I did the same with the leaves, painting them in with various shades of green.  I then went back and outlined the images with a fine line paint brush.  I discovered very quickly that perfection wasn't needed... little imperfections here and there made for such a whimsical result.

I stamped my sentiment using MFT's Peace on Earth stamp set (you could also do double duty with your dies by using them as a stencil).  I painted over the sentiment with black gouache to make the texture of the card consistent.

Some small hand-stitched details and sequins finished off this card beautifully.  Isn't it so great when you can stretch your non-holiday stamps into holiday crafting?  Such a win!


I hope you enjoyed this project!  Links to the products I used are below.  I participate in the My Favorite Things affiliate program, which means that I receive a small commission at no cost to you when product are purchased through the links I share.  I truly appreciate your support!

I'll be back soon with another project I made with MFT's October release... I can't get enough of these products!  In the meantime, have a wonderful weekend and thanks for stopping by!


Simon Says Stamp Cheer & Joy Release: Reindeer Background by CZ Design


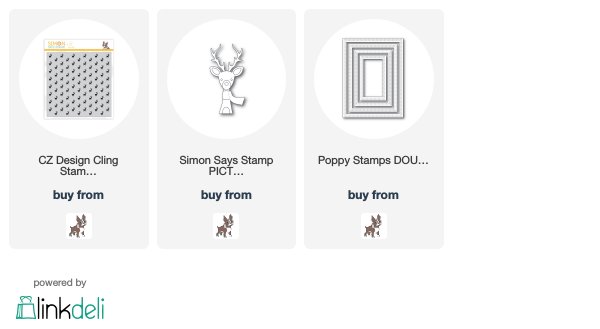
Happy Simon Says Stamp release day!  I'm so excited to be celebrating the Cheer and Joy release with a card made using the new Reindeer Background Stamp by CZ Design.  Cathy Zielske designs the most fantastic products and this is no exception; how great is this background stamp?

As soon as I saw this stamp, I knew I wanted to pair it with one of my all-time favorite holiday dies: Simon's Picture Book Deer die.  I first made a background panel with the Reindeer Background stamp, embossing the images in white on a aqua-colored card base.  I then die cut my deer and colored her (him?  I haven't decided LOL) with Copic markers.  I die cut a separate scarf from red felt and embellished it with tiny french knots for some cute interest.  I then stamped and colored some fun holly and berry images, again coloring them in with bright and fun Copic markers.  I added some stitching to these elements as well... I just can't help myself!

I die cut a stitched rectangle window and layered all my elements up, creating a fun holiday framed image.  Some little pom poms and leaf sequins finished up the deer.  I just love how all of these products paired so well together and made such a fun and festive card!


Links to the products I used are below.  I hope you enjoyed this project today and all of the fantastic inspiration you'll see with this release.  I can't wait to start on some more holiday projects!

Thanks so much for stopping by!  I'll be back with another project tomorrow.  Have a great day!


Wednesday, October 9, 2019

Stitched Floral Card Using MFT's Merry and Bright Die


Hello again!  I'm back today with a fun holiday card made for My Favorite Things's October holiday release.  I am all about the non-traditional holiday cards this year, whether it be using non-traditional colors or non-holiday products.  For this project, I used both techniques to make this super fun "Merry and Bright" card, and I just love the result!

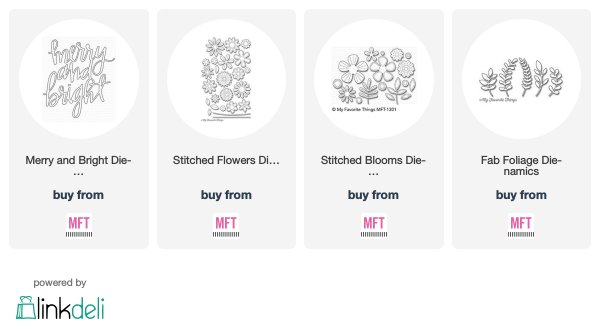
This card was made using die cuts from my favorite MFT products, and it was so easy to create.  I started the card by die cutting my sentiment from the new Merry and Bright Die-Namics, and I colored it with Copic markers to create an ombre effect.  I then die cut a bunch of flowers and leaves using MFT's Stitched Flowers, Stitched Blooms and Fab Foliage Die-Namics, colored them with Copics, and added white stitching around their edges.  As always, I could not let a card go without just a bit of stitching!  I layered the flowers up to create dimension.


After adhering my sentiment and florals, I also die cut some snowflakes using MFT's Layered Snowflakes and dotted them around my sentiment to add some more holiday cheer.


I just love the way this card came out... just "holiday" enough, and also a fun way to use non-holiday supplies!

Links to the products I used are below.  I participate in the My Favorite Things affiliate program, which means that I receive a small commission at no cost to you when products are purchased through the links I share.  I truly appreciate your support!


I'll be back with another project I made using MFT's October release.  Thank you so much for stopping by and have a wonderful day!


Tuesday, October 8, 2019

Elevating Your Stencils with Stitching: My Favorite Things Joy Peace Love Stencil


Today is an exciting day!  It's My Favorite Things's holiday release day and there are so many fun and fresh new products!  I am so excited to be here today with a card made with MFT's new Joy Peace Love stencil.  It's no secret that I love adding stitching to my cards... it adds such interesting texture and dimension and an undeniable handmade quality.  I wanted to see if I could elevate a simple stenciled design with some stitching, and I just love the results.

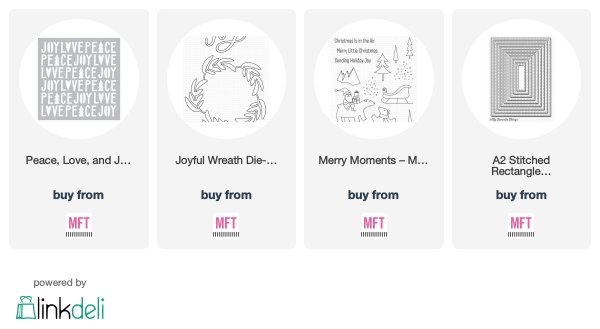
I used my stencil just as it is intended, blending my words in fun pink, red and pool colors with sponge daubers.  I then cut out my panel using MFT's Stitched Rectangle Die-Namics.  Then the fun began... adding the stitching!  I used a paper piercer to poke holes around my words then stitched the words using a simple backstitch.  I also added stitching around the border of my panel using the same stitch.


I then cut out a "Joy" sentiment from MFT's new Joyful Wreath die.  I added another sentiment from the new Merry Moments stamp set, which I stamped on vellum and heat set using clear embossing powder.  Some sequins dotted here and there for a little sparkle and this card was done!


I just love this card... it is clean and simple, but the stitching adds such fun interest.  I hope you're inspired to add some stitching to your cards!

A link to the products I used is below.  I participate in the My Favorite Things affiliate program, which means that I receive a small commission at no cost to you when products are purchased through the links I share.  I truly appreciate your support!

I'll be back with some more projects made with these fun new products.  Thanks so much for stopping by and I'll see you soon!


Custom Post Signature

Custom Post Signature